In this article
That deep navy or charcoal feature wall looked wonderful for a few years, but now you want light and airy and the dark colour is fighting you every step of the way. Roll a pale shade straight over it and you will see the old colour grinning through for coat after coat, with patchy, uneven coverage that never quite settles. Going from dark to light is one of the trickiest everyday painting jobs — but with the right approach it takes far less paint and effort than most people fear.
The key is to stop relying on the topcoat to do all the work. At Painters and Decorators Surrey we make this colour switch routinely, so here is how to cover a dark wall cleanly and get an even, true finish.
Why dark walls are so hard to cover
Light paint is less opaque than dark paint — there is simply less pigment hiding what is underneath. A strong colour beneath shows through the thin, semi-translucent film of a pale topcoat, so you end up applying coat after coat chasing an even result. Bold reds, deep blues and some accent colours are worse still, because their strong pigments can "bleed" up through ordinary emulsion and leave a faint tint no matter how many coats you add.
The answer is not to keep piling on expensive topcoat. It is to block the old colour first with the right product, then let your chosen finish sit cleanly on a neutral base.
Start with proper preparation
Whatever colour you are covering, the groundwork is the same. Wash the wall to remove dust, grease and any marks, fill dents and old fixing holes, then lightly sand to give a key and knock back any sheen, since a previous satin or silk finish needs deglossing for the next coat to grip. Wipe the dust off and let it dry. Skimping here causes patchy coverage that gets blamed on the paint, so our walkthrough on how to prepare your walls for painting is worth following first.
The secret weapon: a primer or undercoat
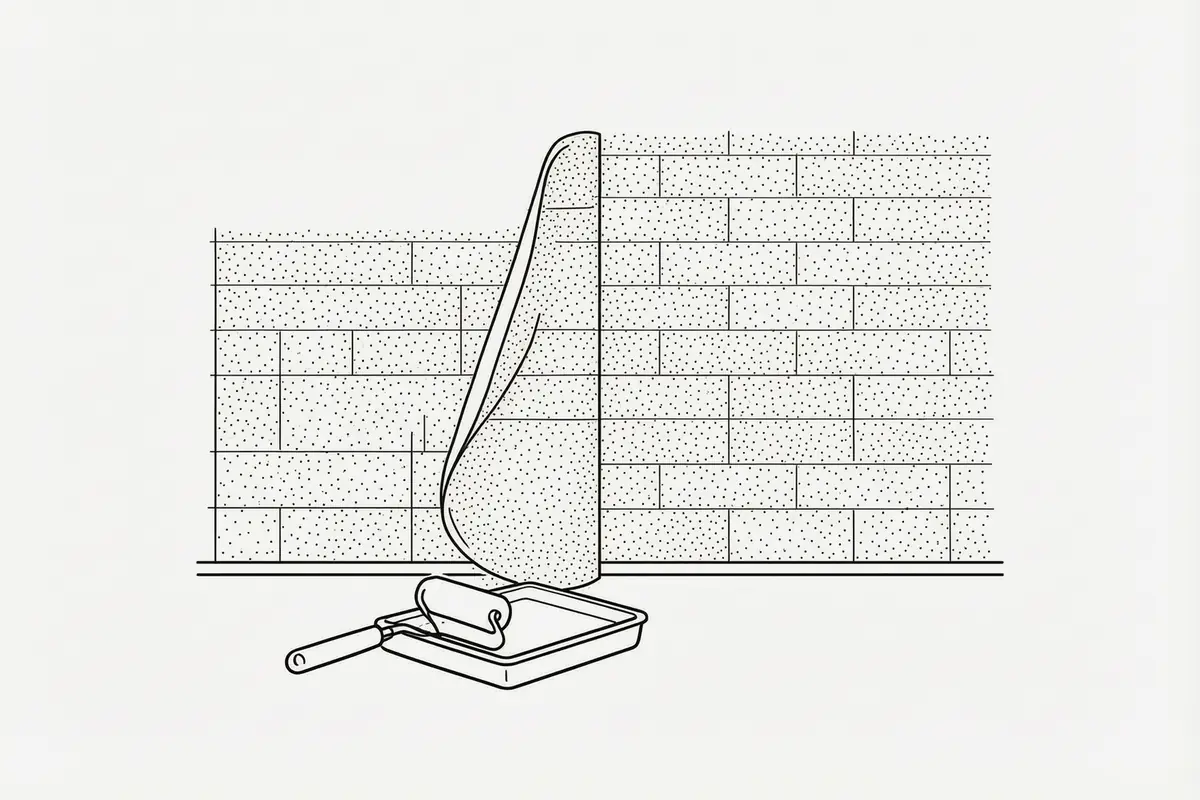
This is the step that turns a four-coat ordeal into a tidy two-coat job. A coat of primer or undercoat creates a neutral, opaque base that hides the dark colour and stops it bleeding through. For most dark-to-light changes a good white or grey primer is ideal; tinted grey primers are especially efficient under both light and bold new colours. If you are covering a strong red, blue or a stain-prone wall, reach for a dedicated stain-blocking primer, which seals in pigments that ordinary emulsion lets through. One solid coat of the right primer saves you two or three coats of topcoat.
Choosing and applying your topcoat
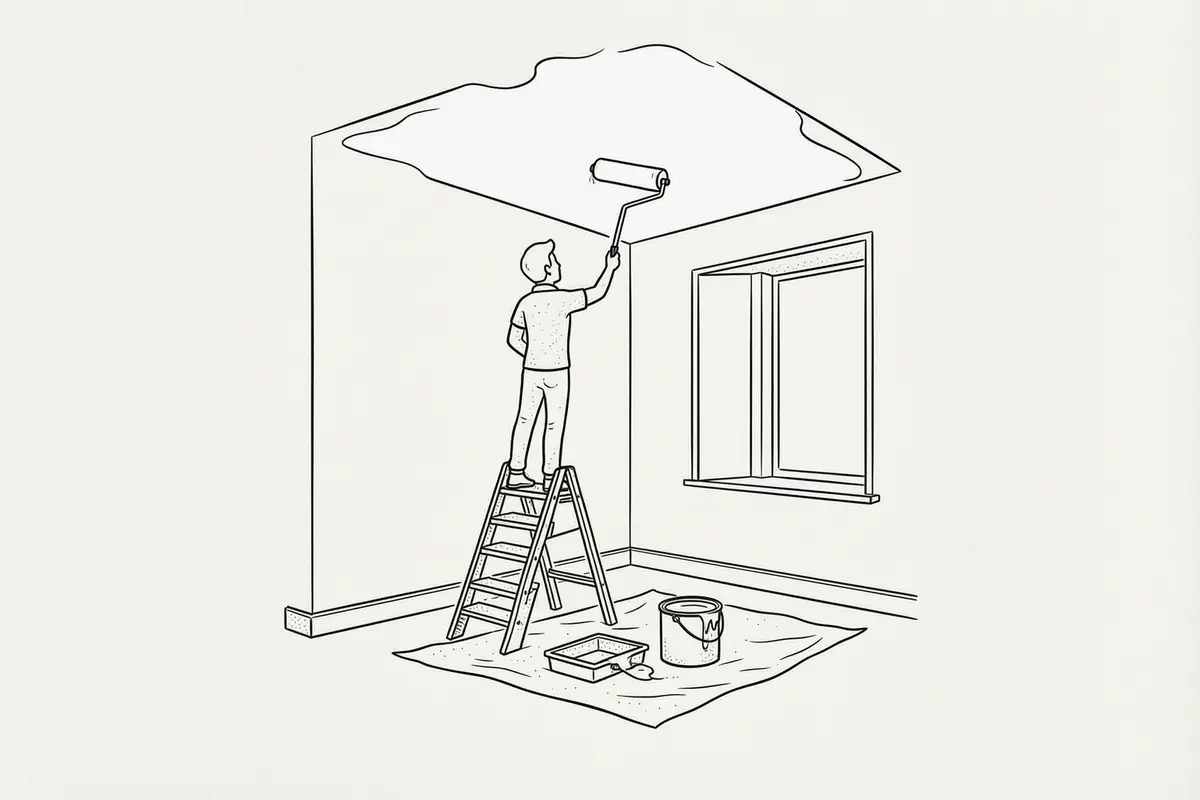
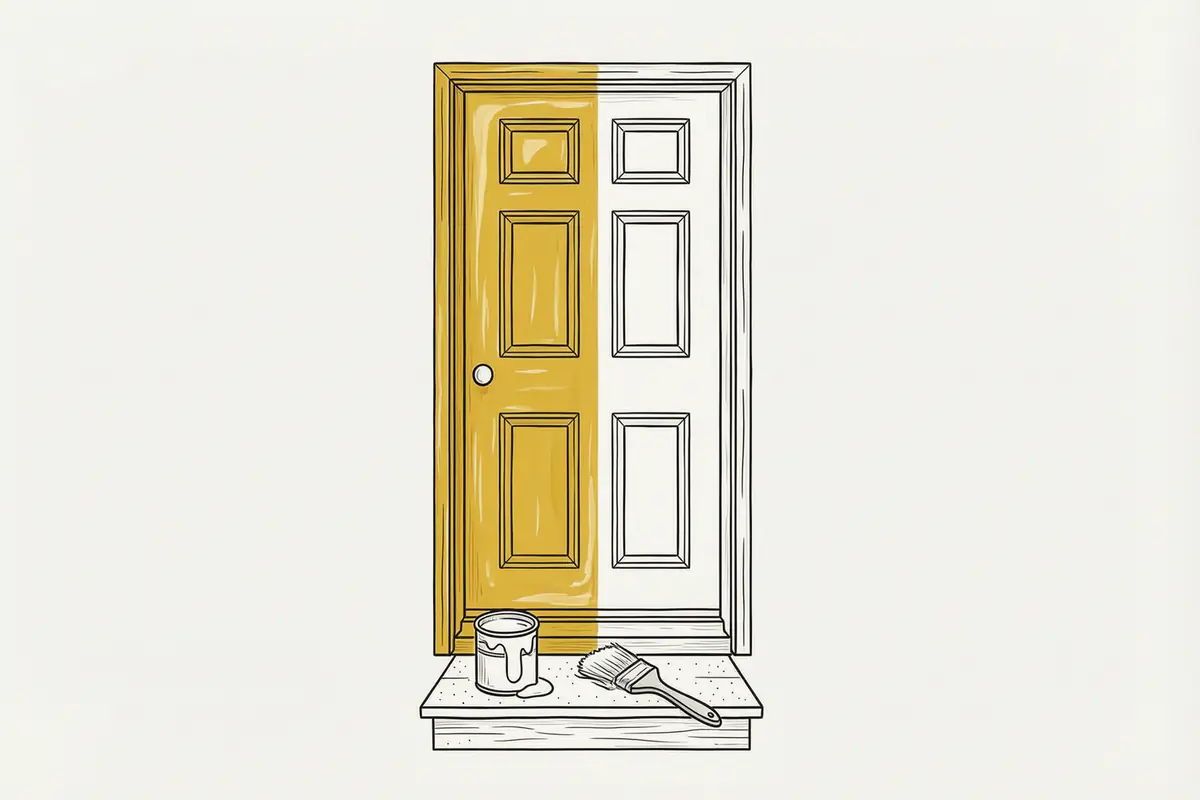
With a neutral base down, your chosen colour will read true rather than being dragged darker by what is underneath. Apply it in two thin, even coats rather than one thick one — thin coats level better, dry faster and cover more reliably. Cut in the edges and corners first with a brush, then roll the open wall while the cut-in edge is still wet to avoid visible joins. Keep a wet edge as you go and do not overwork an area that has begun to set.
Let each coat dry fully before the next. Rushing the recoat is a common cause of patchiness and poor adhesion, and cold or damp rooms stretch drying times out considerably — our guide on how temperature affects paint drying time explains how much the conditions matter. If you are still settling on the new shade, the palette in our piece on neutral paint trends for Surrey homes is a good place to look.
Going the other way: light to dark
Covering a pale wall with a dark colour is easier, since dark paint hides well, but a tinted undercoat still pays off. Priming with a grey base close to your final colour means the rich topcoat reaches full depth in fewer coats, rather than looking thin and streaky over bright white. The principle is the same in both directions: get the base right and the finish follows.
When to call in a professional
A single feature wall is a manageable DIY job once you prime it. A whole room of strong colour, a bleeding accent shade that keeps ghosting through, or a high stairwell wall is often better handed over for a flawless, even result. Our interior painters handle colour changes across Surrey and South West London, from Richmond to the London borders. Request a free quote and we will get your walls looking exactly as you pictured them.