In this article
Most paint that peels, flashes or shows roller marks within a year was never a paint problem at all. It was a prep problem. A coating is only ever as good as the surface underneath it, and on a wall that was dusty, greasy or freshly skimmed, even the most expensive emulsion will let you down.
Surrey makes this trickier than most. You might be painting a Victorian terrace with soft lime plaster and layered distemper one week, then a new-build with bare, suction-hungry plasterboard the next. The two need very different preparation, and getting it wrong is the most common reason a decorating job has to be redone.
This guide walks through the same six-step process a professional follows before a single tin is opened: what to do, why it matters, and the mistakes we see most often in Surrey homes. If you would rather plan the wider job first, our companion piece on preparing your home for interior decorating covers sequencing, dust control and protecting the rest of the room.
Why Wall Preparation Is Non-Negotiable
Paint is unforgiving. Far from hiding flaws, a fresh coat throws raking light across dust, filler edges, grease and hairline cracks, so a wall that looked passable bare can read patchy once the sheen of the finish settles. The trade rule of thumb is blunt: most premature paint failures trace back to poor preparation rather than a faulty product.
Older Surrey properties stack their own complications on top of that:
- Powdery salt deposits (efflorescence) drawn to the surface by rising or penetrating damp
- Chalky, water-soluble distemper on pre-1950s walls, which nothing will bond to until it is removed
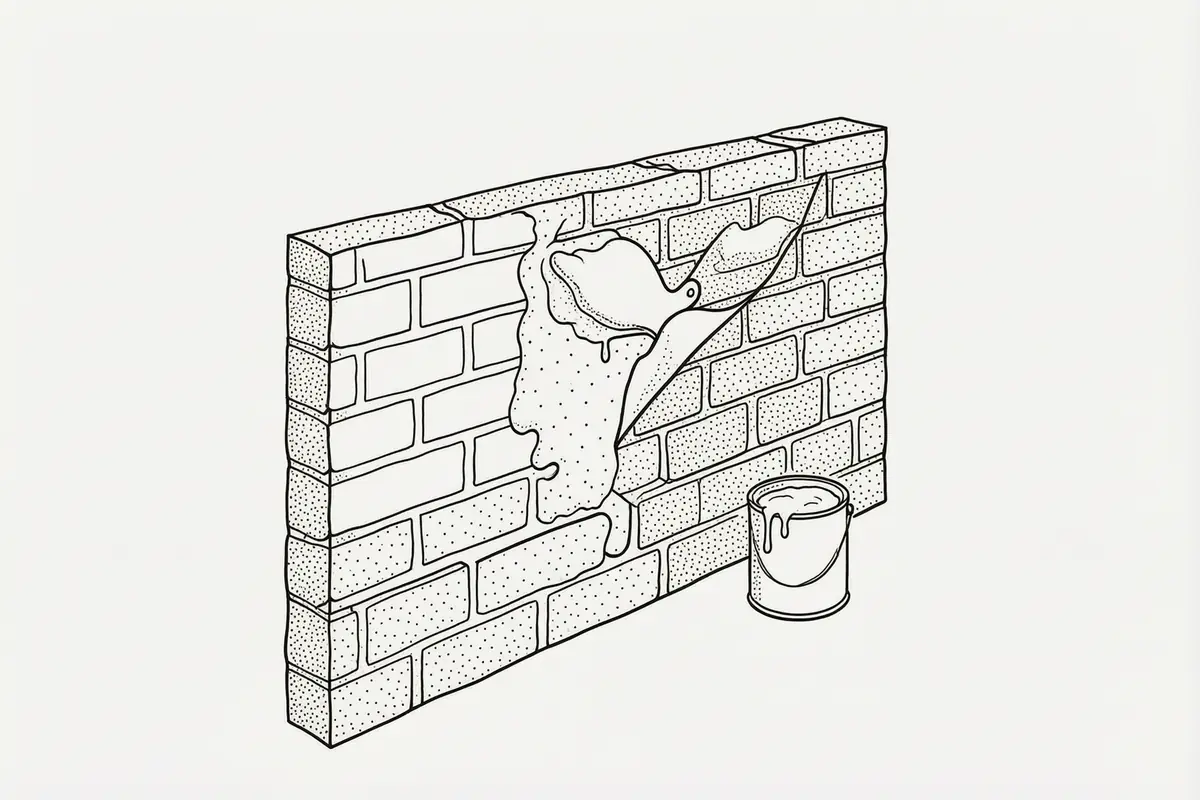
- Soft or blown plaster that has aged or been wetted, and now needs cutting out and making good
New builds are not exempt. Plasterboard is often hung with unfilled or proud joints, fresh skim still needs sealing, and a film of construction dust sits over everything. We cover those traps in the new build decorating checklist, which is worth a read if your property is recently completed.
Step 1: Clear the Room and Protect Surfaces
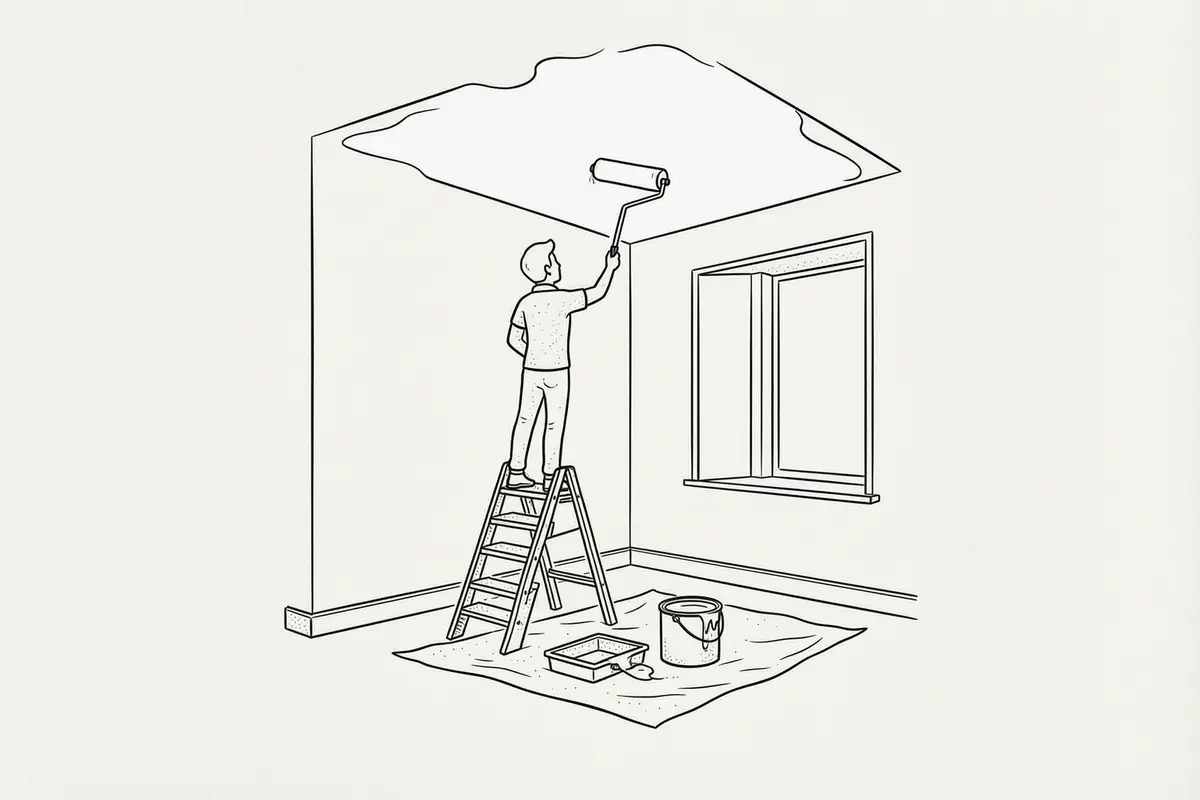
Take down curtains, blinds, pictures and shelves, and move out what furniture you can. Anything too heavy to shift goes into the centre of the room under heavy-duty dust sheets, not the thin disposable kind paint soaks straight through. Then protect what stays in place:
- Floors, with rosin paper or builder's plastic taped down at the edges so it cannot slide underfoot
- Light switches and sockets: switch off at the consumer unit first, then loosen the faceplates rather than cutting around them
- Skirting boards, architraves and door frames, masked with low-tack tape that peels away cleanly later
Five minutes of masking saves an hour of cutting in, and in a period property it protects original mouldings that are far harder to put right than a smear of emulsion.
Step 2: Inspect and Repair Imperfections
Walk the walls in good light, ideally with a lamp held at a shallow angle so shadows pick out anything proud or sunken. You are looking for:
- Hairline cracks in plaster, or shrinkage cracks along old filler
- Nail holes and dents from picture hooks, fixings and furniture
- Loose, flaking or bubbling paint, eased back to a sound edge with a filling knife
- Stains from water, nicotine or mould that will need sealing later
Filling and sanding
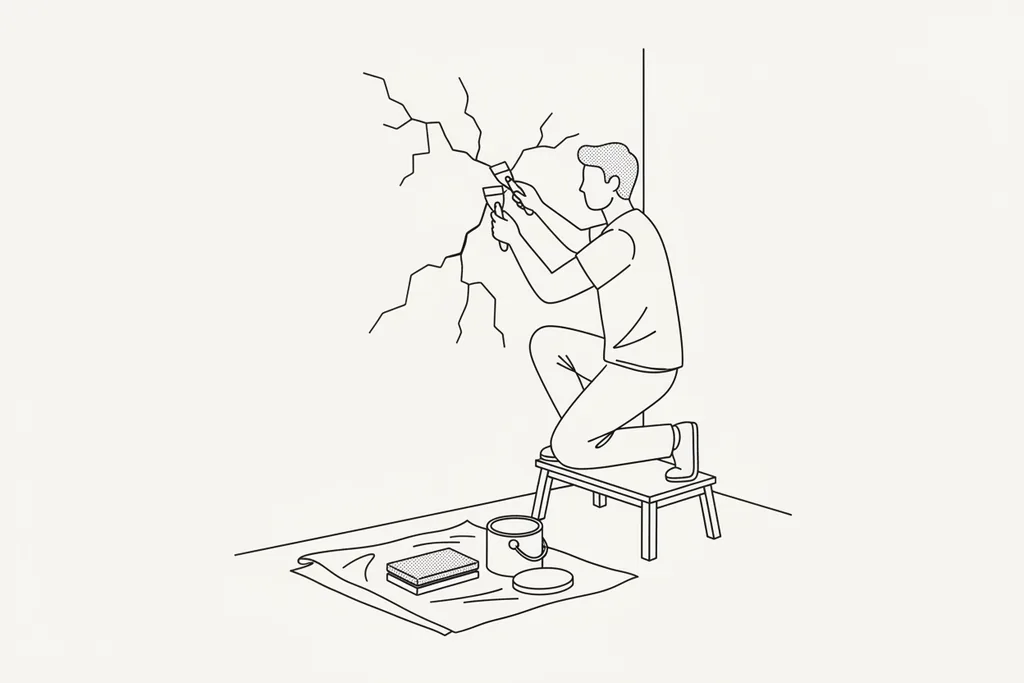
- Rake fine cracks out slightly into a shallow "V" so the filler grips rather than sitting on the surface.
- Fill with an interior filler suited to the job: a flexible or deep-fill product (Toupret, Polyfilla and similar) for wider gaps, a fine surface filler for shallow blemishes you want to sand dead flat.
- Once fully dry, sand back with 120 to 180 grit until the repair sits flush. Proud filler shows as a bump under emulsion every time.
- Wipe off all dust with a damp sponge or tack cloth. Sanding dust left on the wall is a bond-breaker, and the most common reason a tidy-looking filling job still flashes.
In older homes, test any chalky old coating before you fill or paint. Rub a damp cloth over it; if colour lifts and the surface feels powdery, that is distemper. It has to come off completely, because nothing bonds reliably over it.
Step 3: Clean Thoroughly
Kitchens carry an invisible film of cooking grease, hallways collect hand marks at door height, and bathrooms hold soap and product residue. Each forms a barrier that stops paint keying to the wall, however carefully it is applied. The fix is sugar soap:
- Mix sugar soap with warm water at the dilution on the pack, and wear gloves.
- Wash from the top down, so dirty runs land on wall you have not yet cleaned rather than the bit you just finished.
- Rinse with clean water and let the wall dry fully, typically around 24 hours in normal indoor conditions.
Do not skip this on new plaster either. The factory and trade dust on fresh board and skim repels paint just as effectively as kitchen grease does.
Step 4: Prime the Problem Areas
Not every wall needs priming, but certain surfaces do, and matching the right product to the problem is what separates a finish that lasts from one that fails in patches:
| Surface or problem | What to use |
| Bare plaster or fresh filler | A mist coat (roughly 70% matt emulsion to 30% water) or a dedicated plaster primer to seal the suction |
| Water or nicotine stains | A solvent or shellac-based stain block such as Zinsser B-I-N to lock the stain in |
| Mould-affected areas | A fungicidal wash first, then an anti-mould primer once the wall is dry |
| Previously stained or bare timber | A sealing primer to stop tannin and knots bleeding through, as covered in our woodwork paint spraying guide |
The mist coat matters more than most people realise: skip it on new plaster and the topcoat is sucked in unevenly, leaving dull patches and weak adhesion that can peel back to the skim in sheets. Sealing also evens out colour and heads off later problems like tannin bleed and salt efflorescence.
Step 5: Address Damp and Ventilation
Never paint over a tidemark, a bloom of powdery salts or black mould and hope it disappears. Those are symptoms of moisture in the wall, and Surrey's clay soils and wet winters make them common in older stock. Identify which type before you decorate:
- Condensation: improve airflow with extractor fans and trickle vents, in line with Building Regulations Part F
- Penetrating damp: fix the external cause first, whether that is cracked render, failed pointing or a blocked gutter
- Rising damp: have it assessed by a qualified, ideally PCA-registered surveyor before any redecoration
Our guide on how to spot and treat damp goes deeper, but the principle is simple: paint the symptom and ignore the cause, and you are buying yourself the same repair again next year.
Step 6: Final Dust-Down and Dry Check
Before the first tin is opened, run a few last checks:
- Pass a tack cloth over every surface to lift the fine dust that always settles during sanding.
- Read any suspect walls with a moisture meter; plaster should sit below about 15% before you paint.
- Aim for a room above 10°C with humidity under roughly 80%, the range in which emulsion cures properly.
Painting in a cold, damp room is a false economy: the film takes far longer to cure, can dry blotchy and is prone to mould. If you are battling a coat that will not set, our explainer on why paint does not dry completely covers the usual culprits.
When to Call a Professional
Plenty of single rooms are well within a confident homeowner's reach. It is worth bringing in professional interior painters when:
- Your home is listed or sits in a conservation area, where specific materials and methods apply
- You are dealing with widespread damage, damp history or delicate historic finishes
- You want a flawless, sprayed finish on large flat walls, the kind of job our spray painting team handles day in, day out
Whichever route you take, the lesson holds: the finish is decided long before the topcoat. Filling, sanding, cleaning and priming are the unglamorous part of decorating, but they are what makes a room look right and stay that way through one Surrey winter after another.
If you would rather hand the whole job over, we include full preparation in every quote as standard. Request a free, no-obligation quote and we will assess your walls and recommend the right approach for your property.