In this article
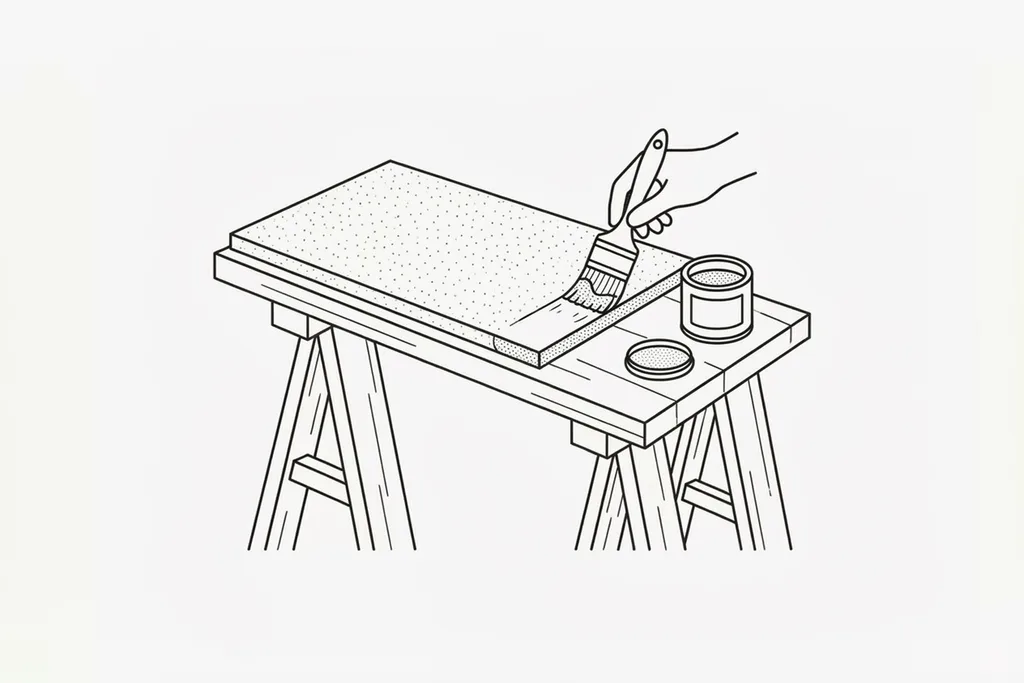
MDF is one of the most useful materials in a modern home. It is stable, dead flat, has no grain or knots to fight against, and it takes a painted finish beautifully once you know its habits. We use it constantly on Surrey jobs for skirting, architrave, fitted shelving, alcove units, box shelves, radiator covers and bespoke furniture. But MDF also has a reputation for being fiddly to paint, and that reputation is entirely down to one thing: the cut edges drink paint like a sponge. Get on top of the edges and the rest is straightforward.
In this guide we will walk through exactly how our painters prepare and paint MDF for a smooth, durable finish, whether you are tackling a run of skirting or a set of shelves. It is the same method we use every week on projects across Guildford, Woking and Godalming, and it will save you the frustration of a furry, patchy edge that never quite looks finished.
Why MDF edges drink paint
MDF (medium-density fibreboard) is made from fine wood fibres bonded with resin and pressed into a dense, uniform board. The flat faces are compressed hard and relatively sealed, so they behave a bit like a smooth timber surface. The cut edges are a different story. When you saw a board, you expose thousands of loose, absorbent fibres running in every direction, and that raw edge acts like blotting paper.
Paint or primer soaks straight into it. The liquid swells the fibres, they lift up and go furry, and no matter how many coats you brush on, the edge stays dull, rough and slightly darker than the faces. This is the single most common reason a home-painted MDF job looks amateur. The fix is not more topcoat; it is sealing the edge properly before you prime, so the surface stops absorbing and starts building a film like the rest of the board.
Two things worth knowing before you start. Any machined detail counts as an edge: grooves in a Shaker panel, skirting profiles and routed chamfers all expose the softer core and need sealing as thoroughly as the ends. And for bathrooms, kitchens and anywhere that sees steam, use moisture-resistant MR MDF (the green-tinted core); it paints the same way but will not swell in damp air.
Sealing the edges: your three real options
There are a few ways to tame a thirsty MDF edge; all of them work, and the right one depends on how much edge you have and the finish you are after.
- A dedicated MDF primer or sealer. This is our default. Solvent-based and acrylic MDF primer-sealers lock down those loose fibres in one or two coats. A water-based version is touch dry in 30 to 60 minutes and ready to sand and recoat in about two hours; a solvent-based one wants overnight but gives the hardest seal. Work it in generously, let it dry, sand back with 240-grit, and seal again if the edge still feels rough; two thin coats on the edges is normal.
- Diluted PVA. The old-school trick is to brush watered-down PVA (one part PVA to three or four parts water) into the edges. It works, but can leave a plasticky, uneven surface that resists water-based topcoats and sometimes makes them bead. Keep it thin and let it dry fully. We rarely reach for PVA now that good MDF primers exist.
- A skim of fine surface filler. For edges you want dead smooth, especially furniture or shelving seen up close, rub a thin coat of fine surfacing filler into the edge with a filling knife, let it harden, then sand back flush with 240-grit followed by 320. It fills the open grain and gives a glass-smooth result. More work, but it lifts a good finish to a great one.
Whichever you choose, the principle is the same: seal, sand, and seal again until the edge feels as smooth and non-absorbent as the face. Run a fingertip along the edge with your eyes closed; if you can feel where the face ends and the edge begins, it is not ready for topcoat.
Sanding: little and often
MDF does not need aggressive sanding, and you should never sand hard on the bare faces because the fibres cut into a fine, unpleasant dust. Wear a proper FFP2 or FFP3 mask, not a paper comfort mask, and sand outdoors or with extraction; MDF dust hangs in the air far longer than ordinary sawdust and is worth taking seriously.
Our grit sequence is a simple ladder. Use 120-grit only for shaping back filler. Key the bare board with 180-grit before priming, mainly to soften sharp corners so paint does not pull thin over them. After the first coat of primer the surface will feel slightly raised where fibres have swollen, so sand it back smooth with 240-grit. Between topcoats, drop to a worn 320-grit or a fine sanding sponge, which follows profiles and grooves better than paper. Each pass should be gentle, just enough to level the surface and key the next coat. Dust off with a tack cloth or slightly damp microfibre before you paint; dust trapped under a coat feels like grit forever.
Choosing the right primer
Primer is where MDF jobs are won or lost. A general-purpose wall primer will not seal those edges, so use one built for the job. Solvent-based MDF primers give the hardest base but smell strong and want overnight drying. Modern water-based acrylic primer-undercoats are low odour, recoatable in two to four hours, and sand to a powder-fine surface; over sealed edges they are our go-to for most interior MDF. Expect roughly 10 to 12 square metres per litre on the flat faces; the edges will take noticeably more.
People often ask whether they need a primer, an undercoat, or both, and the terms get muddled; our separate guide on undercoat versus primer clears it up. For MDF, the short version is that a combined primer-undercoat designed for bare board does both jobs in one tin, so you seal and build with the same product.
Aim for two coats of primer on new MDF, sanding lightly with 240-grit between them. After the second coat is sanded, the whole surface should look and feel uniform, with no dark, thirsty patches at the edges. If an edge still flashes dull, give it a third coat; it is five minutes now against a finish that annoys you for years.
Spray, brush or roller?
All three methods work on MDF, and the best choice depends on the item and the finish you want.
- Brush. Perfectly good for skirting, architrave and edges you cannot easily reach. Use a quality 38 to 50 millimetre (1.5 to 2 inch) synthetic brush for water-based paints, and an angled sash brush for grooves and profiles. Load modestly, then lay the paint off in one long, light pass along the length of the piece. A splash of flow improver helps water-based paint level and loses most of the brush marks.
- Roller. A 100 millimetre (4 inch) foam or microfibre mini roller with a 4 to 6 millimetre pile is excellent for the flat faces of shelving and panels. Most decorators combine the two: cut in edges with a brush, then roll the faces immediately after, keeping a wet edge so the two blend. If the roller leaves a slight orange-peel texture, tip it off lightly with a dry brush while the paint is wet.
- Spray. For the flattest, most factory-like finish, nothing beats spraying, which is why we spray-finish so much bespoke MDF furniture and cabinetry. An HVLP or fine-finish airless setup leaves no brush or roller texture at all, and flat, grainless MDF is arguably the perfect substrate for it. It needs masking, extraction and some skill, so it suits workshop conditions or a properly sheeted site; it sits at the heart of our spray painting and furniture painting work.
Topcoats that last
Once the board is sealed and primed, MDF will happily take most decorative topcoats. Water-based satinwood and eggshell are the popular choices for skirting, shelving and furniture: tough, low-odour, recoatable within four to six hours, and they hold their colour without yellowing the way old oil-based paints do. For a hard-working surface such as a loaded shelf, an acrylic or hybrid furniture and cabinet paint gives excellent scratch resistance. Coverage for most water-based trim paints is around 12 square metres per litre.
Apply two thin topcoats rather than one thick one. Thin coats flow out flatter, dry harder and are far less likely to sag on edges or leave brush marks. Sand very lightly between topcoats with a worn 320-grit, dust off, and lay the final coat on carefully in good light. Remember that touch dry is not cured: most water-based trim paints reach full hardness over one to two weeks, and they will mark if treated roughly before then. If you are overpainting something previously finished in old gloss rather than bare board, adhesion becomes the priority; our guide on how to paint over gloss covers that case in full.
Temperature, humidity and drying times
MDF itself is not fussy, but paint is. Water-based primers and topcoats dry best between roughly 10 and 20 degrees Celsius. Below about 8 degrees they dry painfully slowly and can fail to form a proper film; in a hot conservatory or direct sun they skin over before levelling, locking in brush marks. High humidity stretches every drying time, so on a damp winter day add a couple of hours to the tin's recoat time. If a coat feels cool and slightly soft to the touch, it is not ready to sand or recoat, whatever the clock says.
The full process, step by step
Here is the sequence our painters follow on new, bare MDF:
- Fill fixing holes or damage with fine surface filler; shape back with 120-grit once hard.
- Key all faces with 180-grit, softening sharp corners, then dust off.
- Seal every cut edge and routed profile with MDF primer-sealer (or fine filler on show edges); let it dry fully.
- Sand the sealed edges smooth with 240-grit; reseal if they still feel rough.
- Apply the first coat of primer-undercoat to all surfaces and leave the full recoat time.
- Sand lightly with 240-grit, dust off with a tack cloth, and apply the second coat of primer.
- Check in raking light: the surface should be uniform in colour and sheen, with no thirsty patches.
- Apply the first thin topcoat by brush, mini roller or sprayer and let it dry fully.
- De-nib with worn 320-grit or a fine sanding sponge, dust off, and apply the final topcoat.
- Let it cure before heavy use: a few days minimum, one to two weeks before loading shelves.
Painting MDF skirting and architrave
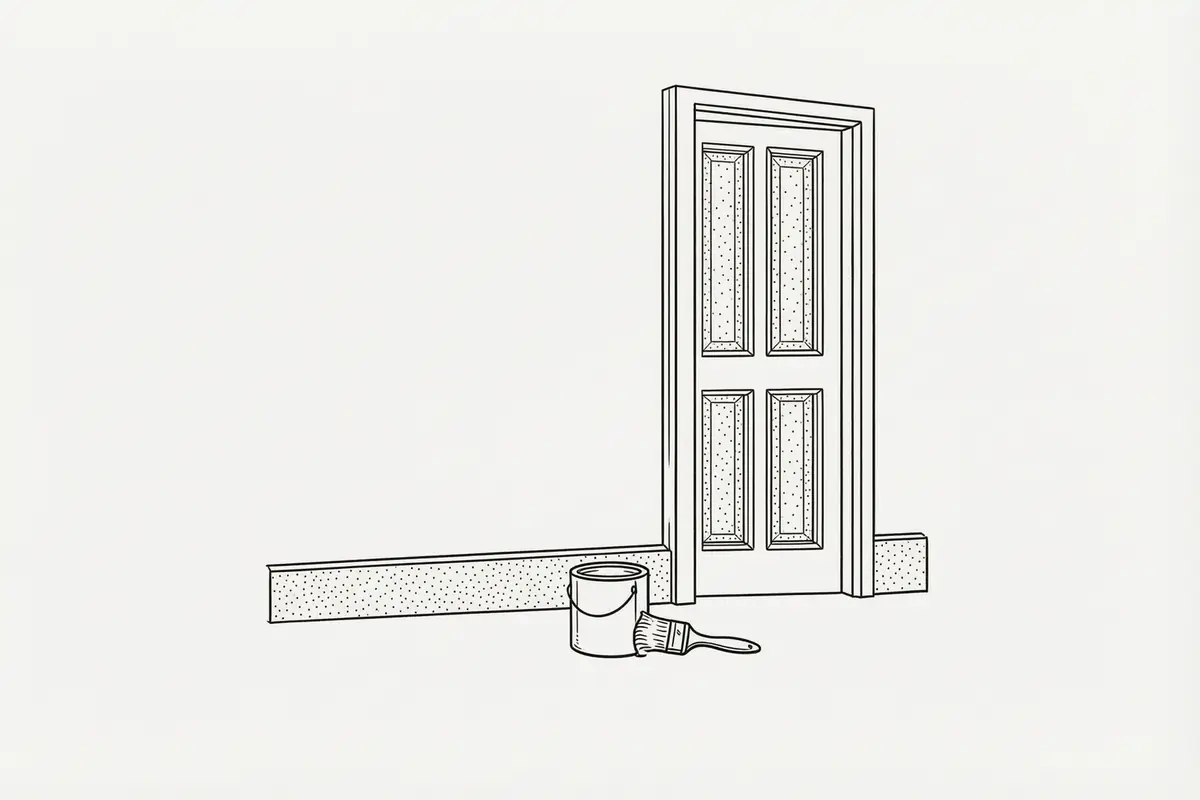
MDF skirting is everywhere in Surrey homes, and it paints up beautifully. Ideally, prime and give the first topcoat before fixing it to the wall; a full length flat on trestles is far quicker than crouching along the floor, and you can seal the bare bottom edge while you are at it. Once it is fitted, fill the joints and nail holes, spot-prime the filler so it does not flash through the topcoat, and caulk the top edge where it meets the wall. Give the caulk a couple of hours minimum, longer for deep beads, because paint applied over soft caulk crazes into fine cracks.
Watch the mitred corners and fixing points; these cut and filled areas are the most likely to show absorbency or shrinkage, and sealed and primed properly they disappear. If you are filling gaps or nail holes along a run, the right filler and technique matters, and we go through it in our piece on how to fill cracks in walls, much of which applies to trim too.
Painting MDF shelving and furniture
Shelving, alcove units and bespoke furniture are where MDF really shines, and where sealing pays off most, because the exposed front edges of every shelf are on show at eye level. Treat those edges as the priority: seal, fill if needed, sand flush, and prime until they match the faces exactly. Where you can, paint shelves flat and loose before assembly; horizontal surfaces take paint more evenly and you avoid drips on the undersides.
For a piece that will be handled daily, build the finish up patiently and let the final coat cure hard before putting weight on it: books stacked on day-old paint will stick, and lifting them later tears the finish clean off. For furniture especially, the flat, grainless nature of MDF is a gift: prepared well, it can look every bit as smooth as sprayed cabinetry, and it is exactly this kind of work that our team enjoys most.
Common mistakes we get called in to fix
A fair amount of our MDF work is rescuing jobs that went wrong, nearly always through one of the same handful of shortcuts:
- Skipping the edge seal. Furry, dark edges on otherwise decent shelving. The only fix is sanding right back and sealing from scratch, far more work than doing it once at the start.
- Emulsion straight onto bare board. Wall paint has no sealing power; it soaks in patchily, raises the fibres and rubs off at touch points within months.
- One thick topcoat instead of two thin ones. Sags on the edges, wrinkles in the grooves, and brush marks that never flowed out.
- Loading shelves too soon. Paint that felt dry stuck to the first row of books and peeled away with them. Touch dry and cured are different things.
- Painting over fresh caulk. A web of fine cracks along the top of the skirting where the caulk was still shrinking under the paint.
- Sanding through the primer. Cutting back to bare board on corners leaves spots that drink the topcoat and show dull; spot-prime any rub-throughs.
When to call in a professional
A single shelf or a spare-room windowsill is a perfectly sensible weekend job. Where it tips into professional territory is scale and finish level: full rooms of skirting and architrave, a staircase of panelling, or fitted wardrobes where you want a sprayed, hand-mark-free surface. The prep hours multiply quickly, and spraying in an occupied home takes masking discipline that is easy to underestimate. As a rough guide, most UK decorators charge in the region of 150 to 250 pounds per day depending on the area, with sprayed finishes usually quoted per piece.
Frequently asked questions
Do you have to prime MDF before painting?
Yes, bare MDF must always be primed before painting. The board is highly absorbent, especially on cut edges, so paint applied directly soaks in patchily, swells the fibres and leaves a rough, dull finish no topcoat will hide. Two coats of a primer-undercoat suited to bare board, sanded lightly between coats, seal the surface and give the topcoat an even base to grip.
What is the best primer for MDF?
The best primer for MDF is a dedicated MDF primer-sealer, formulated to lock down the loose surface fibres that ordinary primers cannot. Solvent-based versions give the hardest seal but smell strong and need overnight drying. Water-based acrylic primer-undercoats are low-odour, recoatable in two to four hours and sand beautifully, making them our usual choice for interior work. Avoid general-purpose wall primers; they do not seal the edges.
Why do MDF edges look rough after painting?
MDF edges look rough after painting because the exposed fibres absorb the wet paint, swell, and lift into a furry texture as they dry. Cut and routed edges are far more porous than the compressed faces. The cure is preparation, not more paint: sand the edge back with 240-grit, seal it with MDF primer-sealer or fine filler, sand again, then prime and topcoat.
Can you paint MDF with emulsion?
You can paint MDF with emulsion, but only over a sealed, primed surface and only where the finish will not be handled, such as wall panelling. Emulsion straight onto bare board soaks in unevenly and raises the fibres, and even over primer it stays soft and marks easily. For skirting, shelves or furniture, use water-based eggshell or satinwood instead; it is far tougher and wipes clean.
Do you need to seal MDF edges?
Yes, sealing the edges is essential on every MDF job. Cut and machined edges are the most absorbent part of the board, and unsealed they stay visibly darker, duller and rougher than the faces no matter how many topcoats you apply. Seal them with one or two coats of MDF primer-sealer, or a skim of fine filler sanded back flush on show edges, before general priming.
Can you spray-paint MDF?
Yes, MDF is one of the best materials to spray-paint, because its flat, grainless surface shows off a sprayed finish with no grain telegraphing through. The same rules apply: seal the edges, prime, and sand between coats, using thin passes so the edges do not flood. An HVLP or fine-finish airless sprayer gives a factory-smooth result, which is why workshops spray most bespoke MDF cabinetry.
Let Surrey Painters take the fiddle out of it
Painting MDF is not difficult, but it rewards patience and punishes shortcuts. Seal those edges, sand little and often, prime for real, and finish in thin coats, and you will get a smooth, hard-wearing result you can be proud of. Skip the edge sealing and you will fight a furry finish forever.
If you would rather hand it over, or you have a fitted unit or run of skirting you want finished to a factory standard, our decorators do this day in, day out across Surrey. From brush-finished trim as part of our interior painting to fully sprayed alcove units, we are happy to talk through the best approach and give you a free, no-pressure quote. Get in touch and we will help you get it right first time.