In this article
Most paint failures start long before the brush comes out. Flaking edges, grinning filler lines, paint that lifts off the wall in sheets within a year: nine times out of ten the cause is rushed preparation, not poor paint. Get the prep right and a mid-range emulsion will outlast a premium one slapped over dust and grease.
Whether you are freshening a single bedroom or working through a whole Surrey house, the steps below are the same ones a professional follows before the first coat. Doing what you can in advance shortens the job and gives a far cleaner result.
Why preparation does most of the work
A good decorator spends the larger share of any job on preparation rather than painting. That is not padding the bill; it is where the result is decided. Paint and wallpaper only ever look as good as the surface beneath them, and they only bond to one that is sound, clean and dry.
Cracks, dust, grease and uneven texture telegraph straight through the topcoat and stop the paint gripping, which is what causes the peeling and bubbling that show up months later. The same applies before papering, so our guide on how to prepare your walls for painting goes into the surface work in more depth.
Step 1: Clear and protect the room
Remove or relocate furniture
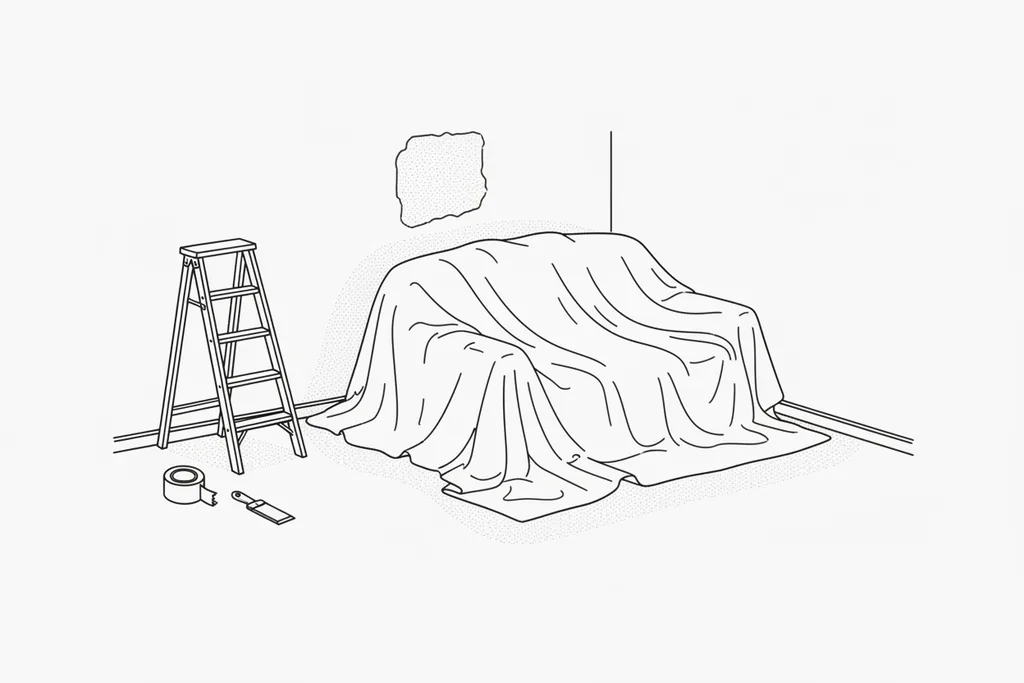
An empty room is always easier to decorate than a full one. Where you cannot clear it completely, group everything into the centre, well away from the walls, and cover it with proper cotton dust sheets rather than thin plastic, which slides about and traps moisture. This keeps splashes off your belongings and stops fine sanding dust settling into upholstery.
Take down wall fixtures
Stripping the walls of clutter lets your decorator reach every corner and cut clean, straight lines. Take down:
- Curtains, blinds and curtain poles
- Wall art, mirrors and shelf brackets
- Switch plates and socket covers, turning the power off at the consumer unit first (never paint over a live fitting)
- Door handles, escutcheons and hinges if the joinery is being painted separately
Bag the screws for each fitting and label them. It costs two minutes now and saves an afternoon of hunting when everything goes back up.
Step 2: Repair, sand and clean every surface
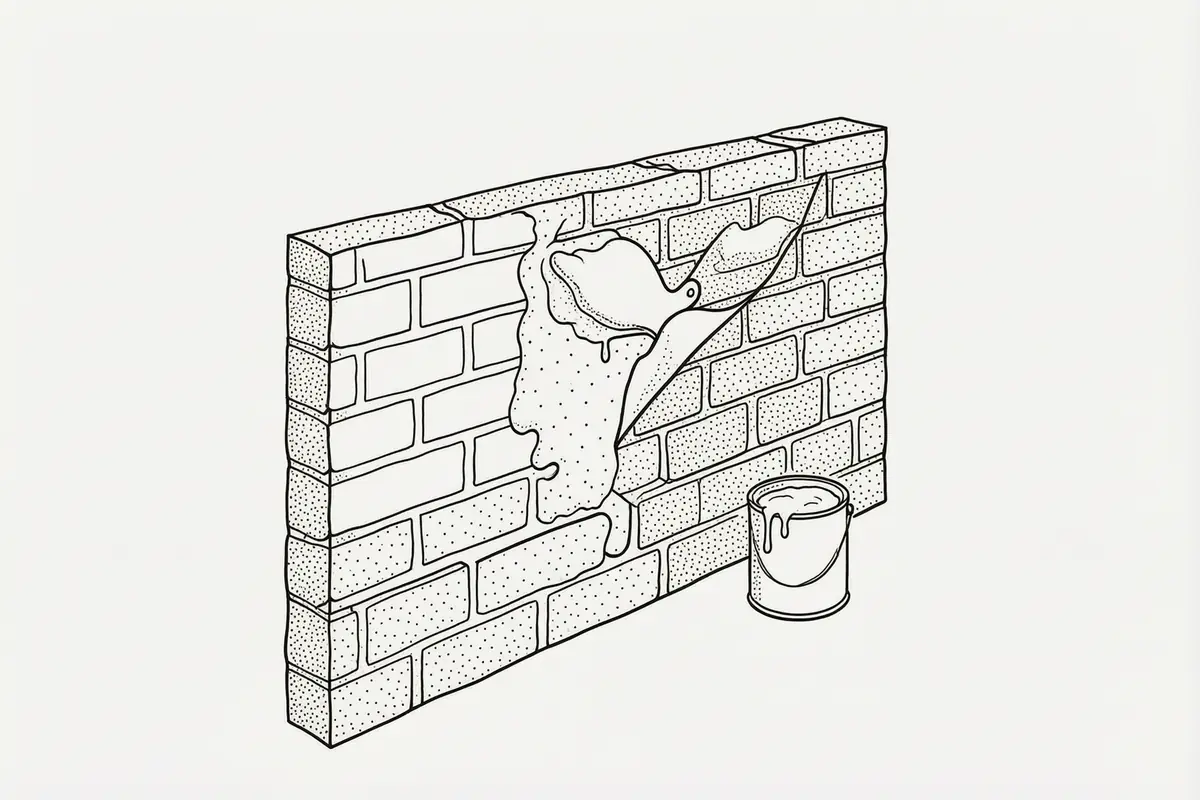
Fill, sand and smooth
Work round the room in good light and mark every defect with a pencil so nothing gets missed. Look for:
- Cracks, screw holes and dents, which take an interior filler; deep holes are better built up in two thin passes than one thick one that shrinks and sinks as it dries
- Flaking or blown paint, which must be scraped back to a firm edge before sanding
- Tired plaster, open caulk lines along skirting and architrave, and lifting wallpaper seams
Once the filler is hard, sand each repair flush with the surrounding wall, then run a bead of decorator's caulk into the gaps where trim meets the wall for that crisp, joined-up look. Finish by wiping everything down with a slightly damp cloth, as leftover dust is one of the most common reasons paint never dries or cures properly.
Deep clean walls and trim
Wash the walls down with sugar soap, paying particular attention to kitchens, where cooking grease builds up invisibly, and to any wall above a radiator or near a smoker, where a film of nicotine will reject fresh paint. Rinse with clean water, then let it dry fully, usually overnight in normal indoor conditions and longer if the room is cold or unheated.
If a wall looks patchy, blooms with mould in the corners, or feels cold and damp to the touch, stop and find out why before you decorate over it. Painting over a damp problem only hides it for a few weeks, so it is worth reading our guide on how to spot and treat damp to see what to look for and when it needs professional attention.
Step 3: Ventilation, floors and safety
Keep the air moving
Open windows and, where you can, set up a fan to keep air moving while you work and as the paint dries. Good airflow gives a more even finish and clears solvent vapours faster. Modern low-VOC and water-based products are far kinder to breathe than the oil-based paints of twenty years ago, but ventilation still matters, especially in older houses with little natural through-draught.
Protect floors and adjoining rooms
Lay heavy-duty dust sheets or rosin paper over carpets and hard floors, and tape the edges down so they cannot creep. Seal doorways and air bricks with low-tack masking to stop sanding dust drifting through the house. Take particular care in homes built before the late 1970s: paint from that era can contain lead, so old coatings should be wetted before sanding and never dry-stripped with a power sander.
Step 4: Match the material to the room
Different rooms ask different things of a finish, so plan your products before you buy. As a rough guide:
- Hallways and stairs: a hard-wearing eggshell or a wipeable matt copes with scuffs and regular cleaning
- Bathrooms and kitchens: choose a moisture-tolerant, washable paint, ideally with an anti-mould additive; our notes on the right paint finishes for bathrooms and kitchens go through the options
- Living rooms and bedrooms: a soft-sheen or flat matt gives a calm, even backdrop and hides minor wall imperfections
- Period or solid-wall homes: use breathable mineral or lime-compatible paints so trapped moisture can escape rather than blistering the surface
If you are papering rather than painting, the prep is just as important; our Surrey wallpaper hangers can advise on lining, paste and pattern match, and help you settle on colours that suit both the room and the light it gets.
Step 5: Brief your decorator properly
A short conversation before the interior painting team arrives saves a lot of friction once work is under way. Agree in advance on:
- Access and parking, which can be tight in town centres such as Guildford and around older terraced streets
- How pets and children will be kept clear of wet paint, sharp tools and open tins
- Who clears the waste, as old wallpaper, empty tins and stripped fixtures soon mount up
- The order of rooms, so you keep at least one usable, paint-free space while the work moves through the house
Listed and conservation-area homes
If you live in a listed building or a conservation area, check what consent you need before stripping or altering anything original. Repainting interior walls in a like-for-like way is normally fine, but removing or modifying historic cornices, panelling or decorative plaster can require listed building consent from your local authority.
Historic England's guidance is to retain original fabric and use compatible, reversible materials. If your home is older or protected, read our advice on decorating a listed building in Surrey and speak to someone with heritage experience before any work begins.
Quick pre-decorating checklist
- Room emptied, or furniture grouped centrally and covered
- All wall fixtures removed, with screws bagged and labelled
- Holes and cracks filled, sanded flush and dusted off
- Walls washed with sugar soap and fully dry
- Floors and doorways protected and sealed
- Power isolated for any electrical fittings being worked on
- Decorator briefed on access, timing, pets and waste
Work through that list and you give whoever picks up the brush, you or a professional, the cleanest possible start, which is exactly where a long-lasting finish comes from. If you would rather hand the whole job over, request a free quote and we will talk through your rooms and the prep they need.
Ben & Roman cover interior and exterior work for homes and businesses of every size across Surrey and South West London. Call 01483 694110 for a chat about your project.