In this article

The most common bathroom and kitchen complaint we hear in Surrey is the same one every time: black speckling along the ceiling line, or paint peeling back from the wall behind the basin, within a year of decorating. The culprit is almost always a standard matt emulsion put somewhere it had no business going.
Bathrooms and kitchens are the two hardest rooms in the house to keep looking good, because they are the two wettest. Choose the right finish and it shrugs off steam for years; get it wrong and you are repainting far sooner than you should be. Here is which finish belongs where, and the preparation that makes it last in an older Surrey home.
Why humidity wrecks standard paint
A normal household throws out a surprising amount of moisture every day, between showers, kettles, cooking and washing up. With nowhere to go, that vapour settles on the coolest surfaces it can find: ceilings, an external corner, the wall behind a wardrobe. North-facing rooms and the solid-walled Victorian and Edwardian houses common across Surrey suffer most, because the walls stay cold and the original ventilation has usually been sealed up over the years.
Ordinary matt emulsion has no defence against this. The film is porous, so it absorbs moisture, swells and loosens its grip on the plaster, and once it stays damp, black mould has the still, wet surface it needs. That is more than an eyesore; the NHS links living with damp and mould to worsened asthma and chest infections. The right finish keeps the wall sound while the room dries, which is half the battle. The other half is ventilation, covered further down.
The best paint finishes for bathrooms and kitchens
Performance varies enormously between products, and the label is not always a reliable guide, so think about where the finish is going rather than the marketing on the tin. Three options cover almost every job.
1. Mould-resistant matt or soft sheen
- Best for: ceilings and the main wall areas away from direct splashing.
- Why: these paints carry biocides that inhibit fungal growth, and a soft sheen wipes down gently without throwing a harsh shine across the wall. A dedicated bathroom-ceiling paint is worth the few extra pounds, and we cover that in detail in our guide to choosing the best paint for a bathroom ceiling.
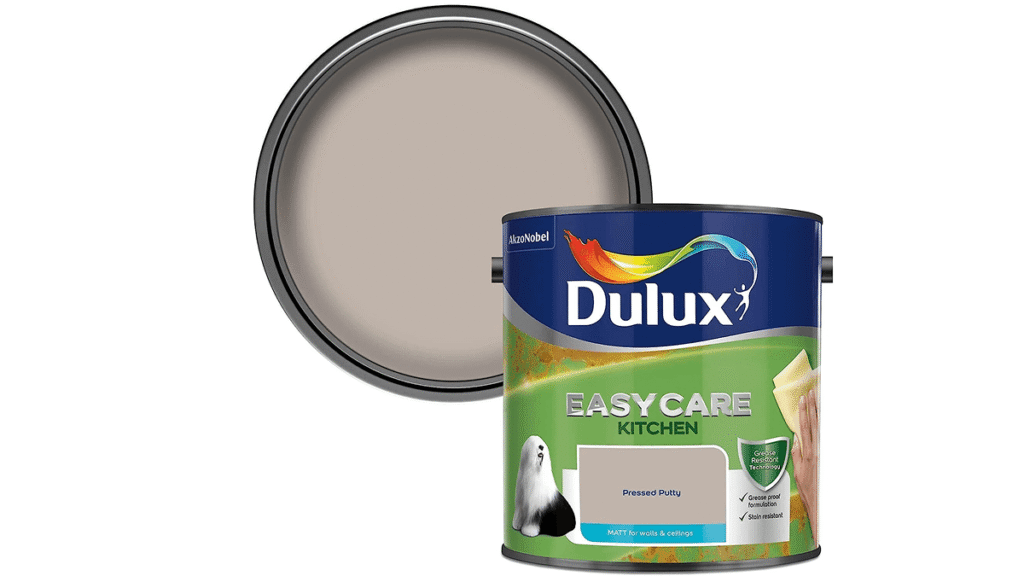
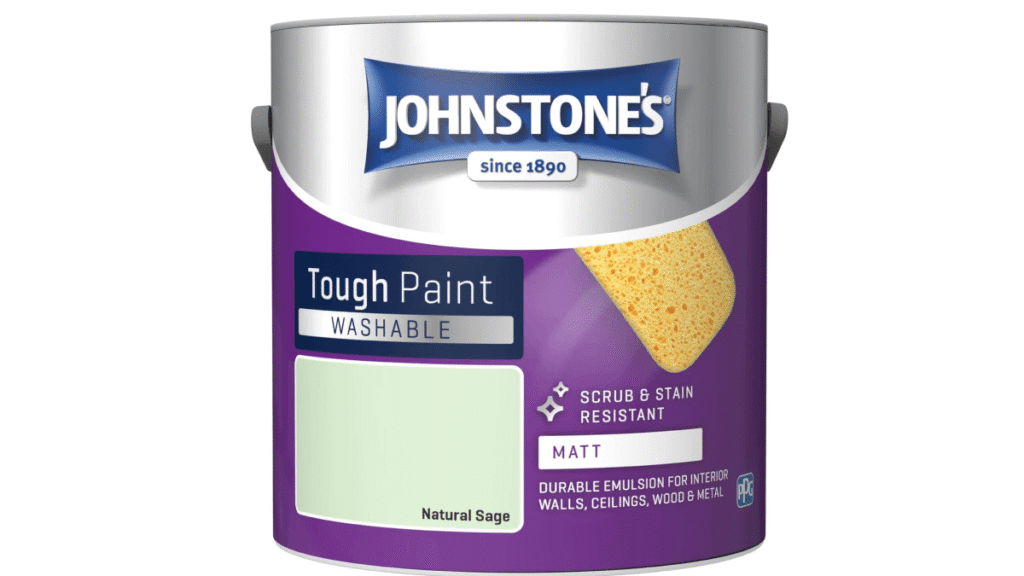
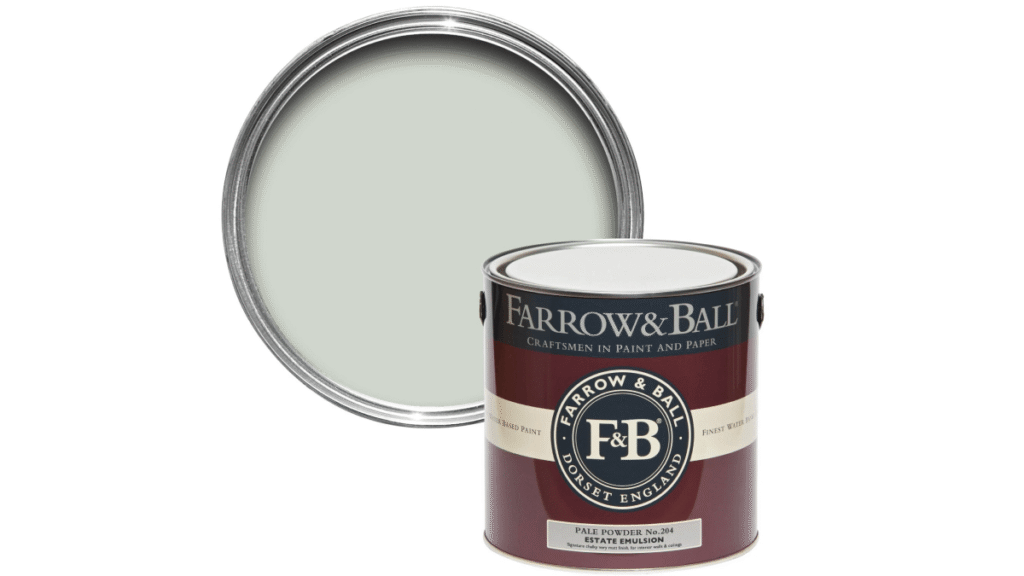
- Good options: Dulux Easycare Kitchen & Bathroom, Johnstone’s Washable & Tough, and Farrow & Ball Modern Emulsion, which carries an anti-mould additive.
Whatever you choose, pick a low-VOC, water-based formula. UK rules already cap the solvent content of most decorative paints, and the better trade ranges go lower still. That matters more in a small, often-closed room where you breathe the off-gassing for days after the job.
2. Eggshell or satinwood for splash zones
- Best for: the wall behind a basin, hob splashbacks, the run beside a bath, and woodwork such as skirting, frames and bath panels.
- Why: a tougher, lightly sheened film takes repeated wiping, resists staining and handles the odd splash far better than matt. Eggshell is the softer sheen; satinwood is glossier and harder-wearing on woodwork.
- Note: use water-based acrylic eggshell, not oil-based. It dries faster, smells far less, and will not yellow over a bath or radiator the way oil gloss does.
3. Acrylic eggshell as a tile alternative
A hard-wearing acrylic eggshell is a sensible, budget-friendly alternative to tiling a feature wall or a half-height run. It beats emulsion for wiping and splashes, but be clear about its limits: water-resistant, not waterproof. Keep it out of the direct firing line of a shower, where only tiling or proper sheet cladding belongs.
One rule holds everywhere: never reach for exterior masonry paint to fix an indoor damp problem, as it is made for outside use, not indoor air quality. If it is the outside walls you are tackling, our notes on choosing the best exterior paint for Surrey’s climate are the place to start.
Preparation is where the finish is won or lost
Even the best bathroom paint will fail over poor prep, and in a wet room the surface underneath does most of the work. The full routine is in our guide on how to prepare walls for painting; the wet-room specifics are below.
1. Clean it properly
Wash walls down with sugar soap, or a fungicidal wash where there is any history of mould. Kitchens hide a film of cooking grease that paint will not key to; bathrooms collect soap residue. Rinse and let the surface dry fully, usually a day or two rather than an hour.
2. Kill any existing mould first
Painting over live mould never works; the spores push back through the new film within weeks. Treat it with a proper fungicidal mould killer and let it dwell as the maker directs before you touch a brush. If mould keeps returning in the same spot, moisture is getting in somewhere, and our notes on how to spot and treat damp help you trace the source first.
3. Prime the problem areas
Spot-prime water-stained patches and spots that regularly bead with condensation using a stain-blocking primer, or old marks ghost through the topcoat. New plasterboard near a shower wants a moisture-tolerant primer, and bare plaster always needs a thinned mist coat first so the topcoats bond rather than peel.
4. Seal the gaps
Run a flexible decorator’s caulk around window reveals, skirting and the wall-to-ceiling joint. It is the step most DIY jobs skip, yet open joints are exactly where moisture creeps behind the paint. On older solid-walled houses, keep sealants and finishes breathable rather than trapping moisture inside historic plaster.
Paint cannot fix poor ventilation
This is the part homeowners most want to skip, and the one that decides whether the paint lasts. No coating keeps up with a room that has nowhere to vent its moisture. Current Building Regulations (Approved Document F) reflect this and set minimum extraction for wet rooms, broadly along these lines:
- An extractor fan in bathrooms and kitchens, ideally one with a humidity sensor so it keeps running until the air actually clears.
- Trickle vents in replacement windows to give a steady background air change.
- Sensible extract rates, in the region of 15 litres per second in a bathroom and rather more beside a kitchen hob.
Most Surrey homes predate these standards, so retrofitting a good humidity-sensing fan is usually the single most effective upgrade you can make alongside repainting. Opening a window after a shower helps, but a fan that runs until the steam clears is far more reliable on a cold, damp morning.
What to avoid
A few false economies cost more in the long run. Standard vinyl matt belongs in the bedrooms, not a wet room. Very dark colours in a small, dim room swallow the light and make it feel damper than it is. Non-breathable coatings on solid walls trap moisture and blow the plaster rather than drying it out. And the old trick of stirring bleach into paint simply does not work; it weakens the film and is not safe.
When to bring in a decorator
A small patch you can tackle yourself. A full bathroom or kitchen, especially in an older Surrey property, rewards a professional eye, because the finish is only as good as the diagnosis behind it. As interior painters across Surrey and South West London, we find why a room is getting wet before painting over the symptom, specify a low-VOC mould-resistant system to suit, work alongside an electrician where a fan needs moving, and steer you on colours that make the most of the available light.
On a recent Edwardian house near Guildford, the bathroom had been repainted twice in standard emulsion and the mould kept returning. We stripped it back, dealt with the damp at the base of the wall, fitted a humidity-sensing fan and laid down a breathable, mould-resistant system; it has stayed clean since. The same thinking applies to repainting tired oak kitchen units, where the finish has to survive heat, grease and constant wiping.
If you would rather hand it over, we are happy to take a look and give you a free, no-pressure quote. Call 01483 694110 or request a free quote online and we will talk through the right finish for your room.