In this article
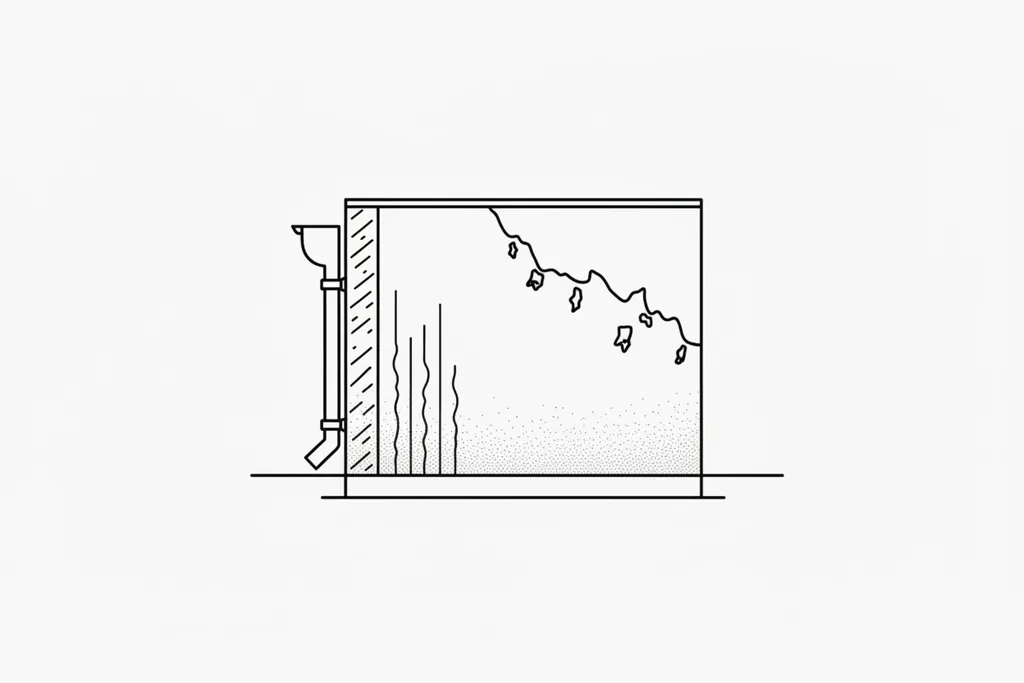
A customer in Guildford repainted the same patch of hallway wall every spring, and every autumn it bubbled and flaked again. The problem was never the paint. It was a blocked downpipe soaking the brickwork behind it, and no amount of fresh emulsion was ever going to fix that.
Damp is one of the most common reasons paintwork fails in Surrey homes, and the most misread. Peeling, blistering, brown tidemarks and black mould are symptoms, not the disease. Paint over them without fixing the moisture underneath and you will be back with a scraper within a season.
Why Surrey homes are prone to damp
Two things work against us locally: much of the county sits on slow-draining London Clay, and a lot of the housing stock is solid-wall Victorian and Edwardian, with no cavity and often a damp-proof course that has failed or was never there. It helps to know which of the three types of damp you are dealing with, because the fix differs for each:
- Rising damp draws ground moisture up through the wall by capillary action where the damp-proof course is bridged, broken or absent. It usually stops around a metre up.
- Penetrating damp comes in from outside through a defect: cracked render, perished pointing, a slipped tile or a gutter dumping water down the wall.
- Condensation is by far the most common in modern homes: warm, moist air from cooking, showering and drying laundry indoors hits a cold wall and turns to water, made worse by poor ventilation.
Common damp warning signs and what they mean
Blistering or peeling paint
Seen on walls, ceilings and window reveals. Moisture trapped behind the film pushes the coating off, so it lifts in bubbles or sheets. If peeling is concentrated low on an external wall and tails off about a metre up, suspect rising damp rather than condensation. Trapped moisture is also why a coat can stay tacky and never harden, which we cover in why paint does not dry properly.
Black or green mould
Fuzzy black, green or grey patches in corners, behind furniture and around windows are almost always condensation-driven; they take hold in the coldest, least ventilated spots. Mould is more than unsightly: the spores can aggravate asthma and other respiratory problems, so it is worth dealing with promptly.
Tidemarks and brown staining
Yellow or brown horizontal lines low on a wall are a classic sign of rising damp. As moisture rises and evaporates it carries dissolved ground salts to the surface. Those salts are hygroscopic, so they keep pulling moisture from the air even after the source is fixed, which is why a tidemark can bleed back through fresh paint if the wall is not treated first. A chalky white bloom on brickwork or plaster is the same story: efflorescence, harmless to brush off, but a clear sign the wall is not yet dry enough to decorate.
Treating damp-related paint failure, step by step
1. Find and fix the source first
Nothing else matters until the water stops coming in. Run through the usual culprits:
- Clear gutters and downpipes and check they are not overflowing in heavy rain.
- Inspect render and brickwork for cracks, and check pointing for soft or missing mortar.
- Make sure kitchen and bathroom extractor fans work and vent outside.
- On a pre-1920 property, check whether the damp-proof course is intact, bridged by raised ground levels, or absent.
2. Dry the wall out fully
Once the source is sorted, the wall has to dry before it sees a brush. Improve airflow, open windows on dry days and run a dehumidifier. A wall that has been wet needs roughly four to six weeks to dry out, and longer for thick solid masonry. Rushing this stage is the most common reason a repaint fails.
3. Strip back and clean the surface
- Scrape off every flake of loose or blistered paint back to a sound edge.
- Wash the area with a fungicidal mould killer to kill spores at the root, then rinse and dry.
- Never dry-sand mould; it throws spores into the air. Treat it wet, every time.
With the wall clean, stable and dry, our walkthrough on how to prepare walls for painting covers the filling, caulking and priming that follow.
4. Use breathable, mould-resistant products
The paint matters as much as the prep. For walls and ceilings prone to condensation, an anti-mould microporous emulsion such as Zinsser Perma-White lets the wall breathe while resisting regrowth; on walls that have carried salts, use a salt-neutralising primer first. Avoid sealing a damp-prone wall under standard vinyl paint, which traps moisture and just delays the failure. The same logic applies outdoors, where a breathable masonry paint suited to Surrey's climate lets solid walls release moisture rather than blistering it off.
When to call in a professional
Plain condensation is often a job a confident homeowner can manage with better ventilation and the right paint. Rising and penetrating damp are different: they need correct diagnosis before anyone reaches for a brush. As local interior painters and decorators, we work alongside damp specialists so the cause is dealt with first and the wall is finished in a breathable system. We also handle the matching exterior work, since penetrating damp almost always traces back to a fault outside.
Period and listed properties need extra care: modern cement renders and plastic paints trap moisture in old solid walls and make damp worse, which is why these homes are best repaired with lime-based plasters and mineral paints, as we explain in our guide to decorating a listed building in Surrey.
Keeping damp from coming back
A few habits keep a treated wall that way. Open the trickle vents on your windows (new and replacement units have had to include background ventilation since the 2022 update to Building Regulations Part F), run bathroom extractor fans during and after showers, and clear gutters at least twice a year. Keep some heat and cross-ventilation going even in winter, because a warm, aired room rarely grows mould. Penetrating damp usually shows up after the first hard weather, so check the outside before winter; our notes on getting Surrey exteriors winter-ready are a good starting point.
The order matters more than the products: read the symptom, fix the source, let the wall dry out fully, then finish with a breathable system. Skip a step and you are just repainting the same patch next year. If you have peeling paint, tidemarks or recurring mould you would rather sort out properly, get in touch for a free quote or call us on 01483 694110, and we will take a look before you reach for the roller.