In this article
It is one of the first questions our painters get asked on almost every job: how many coats of paint does this actually need? The honest answer is that it depends on the surface, the colour you are covering, the colour you are going to, and the quality of the paint in the tin. But there is a sensible default that holds across the vast majority of Surrey homes we decorate, and a handful of clear situations where you should plan for more. This guide walks through all of them, with the coverage rates, drying times and tool choices we actually work to.
The short answer: two coats is the standard
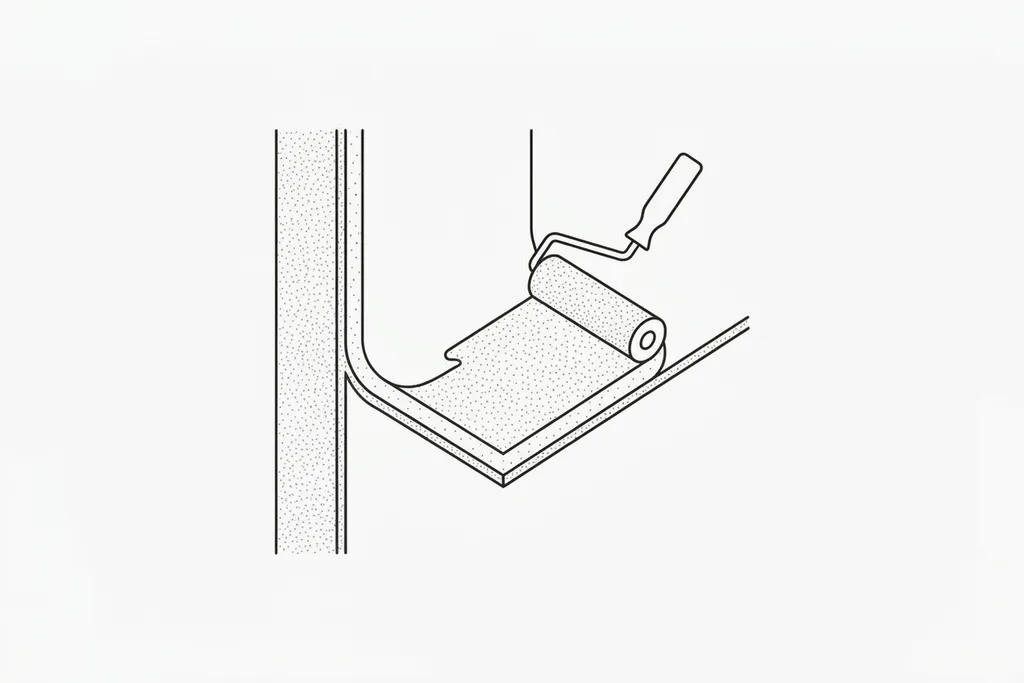
For the great majority of interior walls, two coats of emulsion over a properly prepared surface is the industry standard, and it is what we quote for by default. Paint goes on far thinner than people expect: a coat of emulsion dries to a film only a few hundredths of a millimetre thick, which is why a single pass looks patchy once dry, with roller marks and the old colour ghosting through. The second coat evens out the film, builds the colour to its true depth, and gives you a surface that will wipe down and last.
The numbers help here. A decent trade matt emulsion covers around 12 to 14 square metres per litre per coat, and the walls of an average double bedroom come to roughly 30 to 32 square metres — so a 2.5-litre tin buys you one coat with almost nothing spare. Budget for two coats and buy a 5-litre tin from the start.
Tools matter too. On smooth plaster we use a medium-pile roller, around 9 to 12 millimetres, which carries enough paint to lay a full, even coat without stippling, plus a 50-millimetre synthetic brush for cutting in. A short-pile roller stretched across too big an area is the most common reason DIY first coats look starved. The first coat covers and bonds; the second is the one that actually looks finished. Stop at one and you will almost certainly go back over the wall anyway, spending the same on paint and twice the time.
When you genuinely need three coats
There are several situations where two coats will not cut it. The most common:
- Going from a dark colour to a light one. Covering a deep navy, charcoal or bold feature wall with a pale shade is one of the hardest jobs in decorating. Two coats of white over dark blue will usually still look cloudy. We cover this in our guide to painting over dark walls, but the short version is a basecoat first — a dedicated grey basecoat matched to the depth of the new colour, or a white undercoat — then two full topcoats. Plan for three passes minimum.
- Strong, saturated colours. Deep reds, bright yellows and vivid teals rely on organic pigments that are naturally translucent, so light passes through the film and shows what is underneath. Even over a similar base these often need three coats, and several manufacturers now specify a coloured basecoat beneath their strongest reds for exactly this reason.
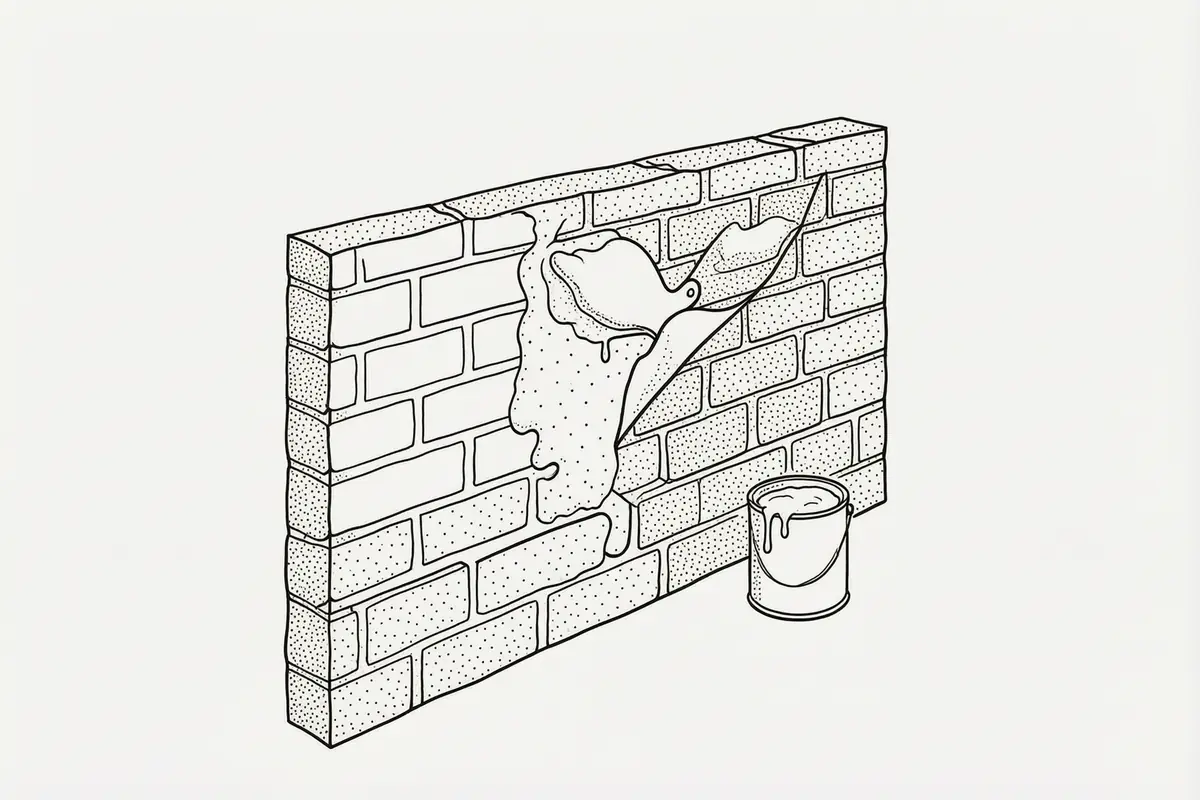
- New or fresh plaster. Bare plaster is thirsty and drinks in that first coat. The correct approach is a mist coat first — matt emulsion thinned with roughly 20 to 30 per cent clean water, rolled on and left to dry — then two full coats on top: three passes over the wall. Never mist-coat with vinyl silk or a one-coat paint; they sit on the surface rather than soaking in, and can peel off in sheets later.
- Patchy or repaired walls. Filler, skimmed patches and mixed old finishes absorb paint at different rates, so repairs dry flatter than the wall around them — decorators call it flashing or grinning. Spot-prime the repairs with thinned emulsion or a primer-sealer first, or accept a third full coat to even everything out.
If any of those describe your project, factor in the extra paint and drying time from the start rather than being caught out halfway through.
Do one-coat paints actually work?
The tins promising full coverage in a single coat are not pure marketing. One-coat and self-priming paints are genuinely thicker and higher in solids and pigment than standard emulsion, so they lay down more colour per pass, and in the right conditions they can work.
The catch is that the right conditions are narrow: a light colour over a similar light colour, on a smooth, non-porous surface, applied generously. They also only deliver at their stated spreading rate, usually around 10 square metres per litre rather than the 13 or 14 you would stretch a normal emulsion to — roll them out thinly and you have paid a premium for an ordinary coat. Push them over a bold colour, fresh plaster or a patchy wall and you will still see the surface underneath. Our honest take: fair for a quick refresh in the same shade, but for any real colour change we still plan for two coats and treat single-coat success as a bonus.
Coats on ceilings
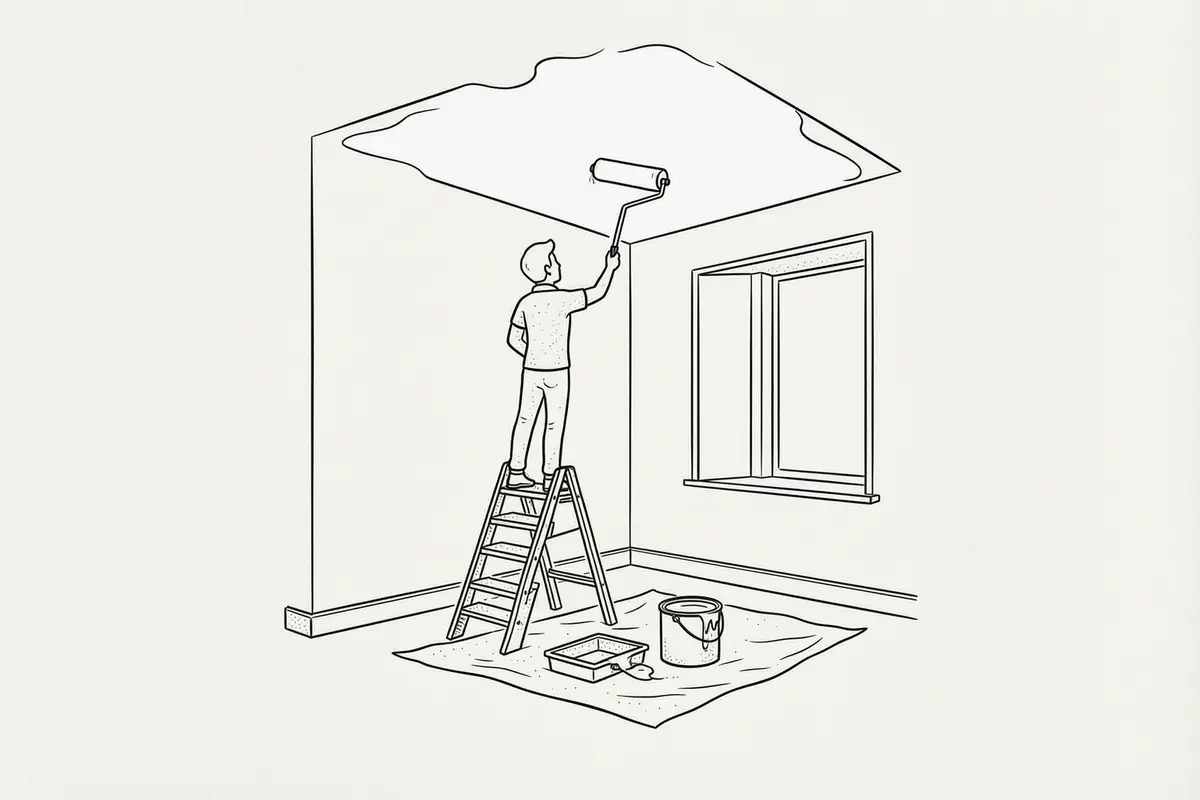
Ceilings usually follow the same two-coat rule as walls. A brilliant-white ceiling freshened up in the same colour can sometimes get away with a single coat if the surface is clean and even, but we rarely rely on it. Where ceilings really demand extra coats is staining: water marks from an old leak, nicotine, or a yellowed surface. Those need a stain-blocking primer first — oil-based or shellac-based, not more emulsion — otherwise the mark bleeds straight back through however many coats you apply over it.
Technique matters more on ceilings than anywhere else, because daylight rakes across them and shows every lap mark. We roll away from the window in overlapping bands with a medium-pile roller, keep a wet edge, and finish the whole ceiling in one session. A flat matt hides imperfections far better than anything with a sheen, and two thinner coats always beat one heavy coat that sags.
Coats on woodwork, doors and trim
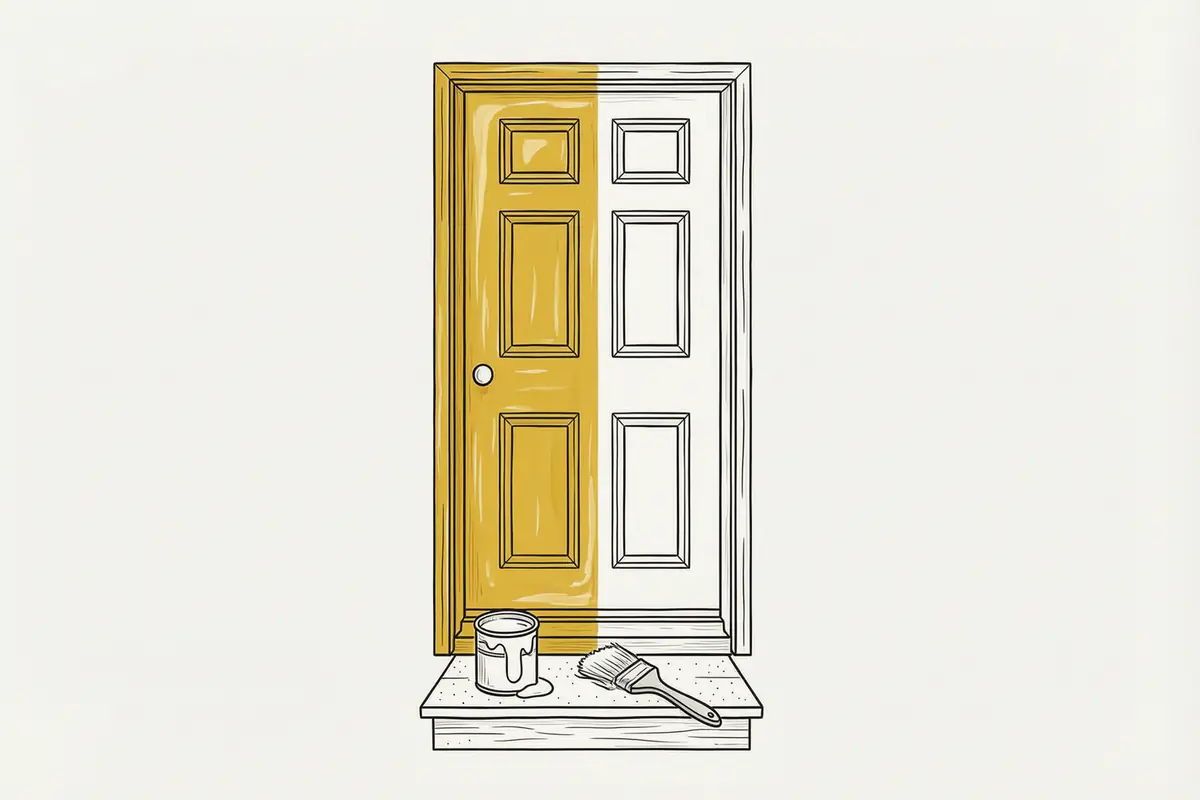
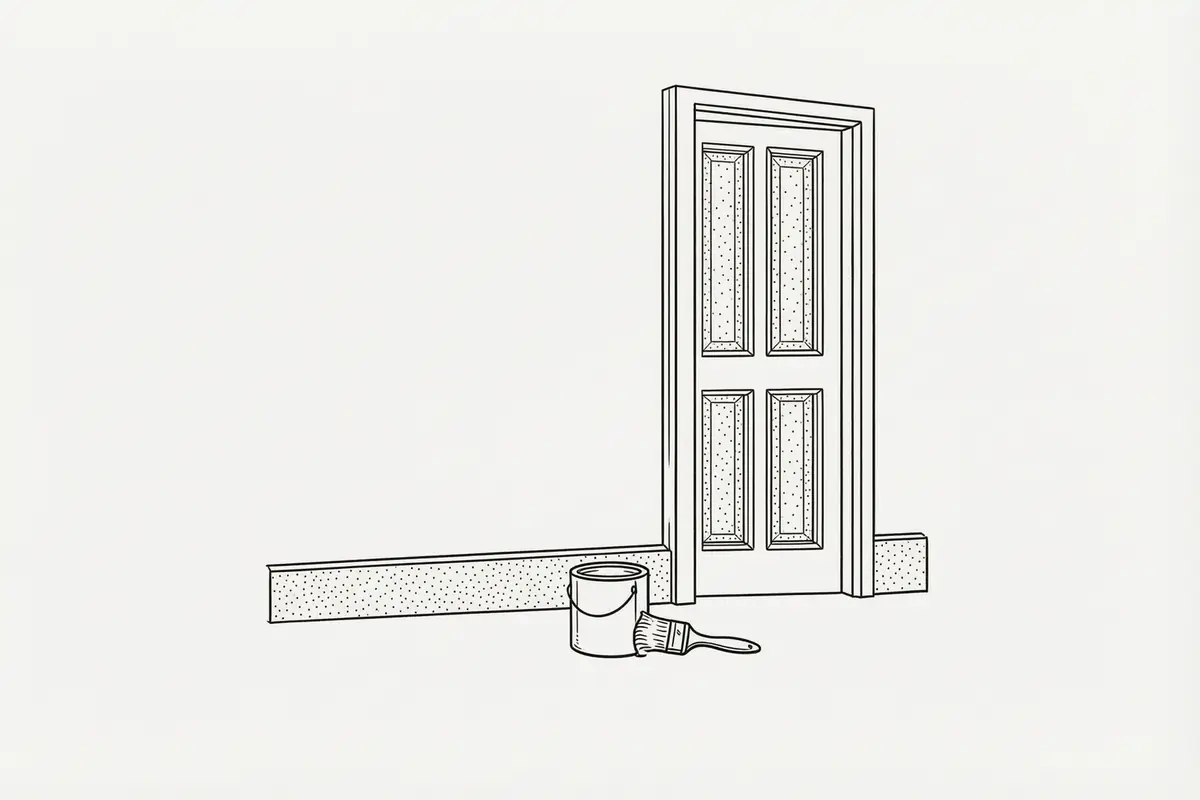
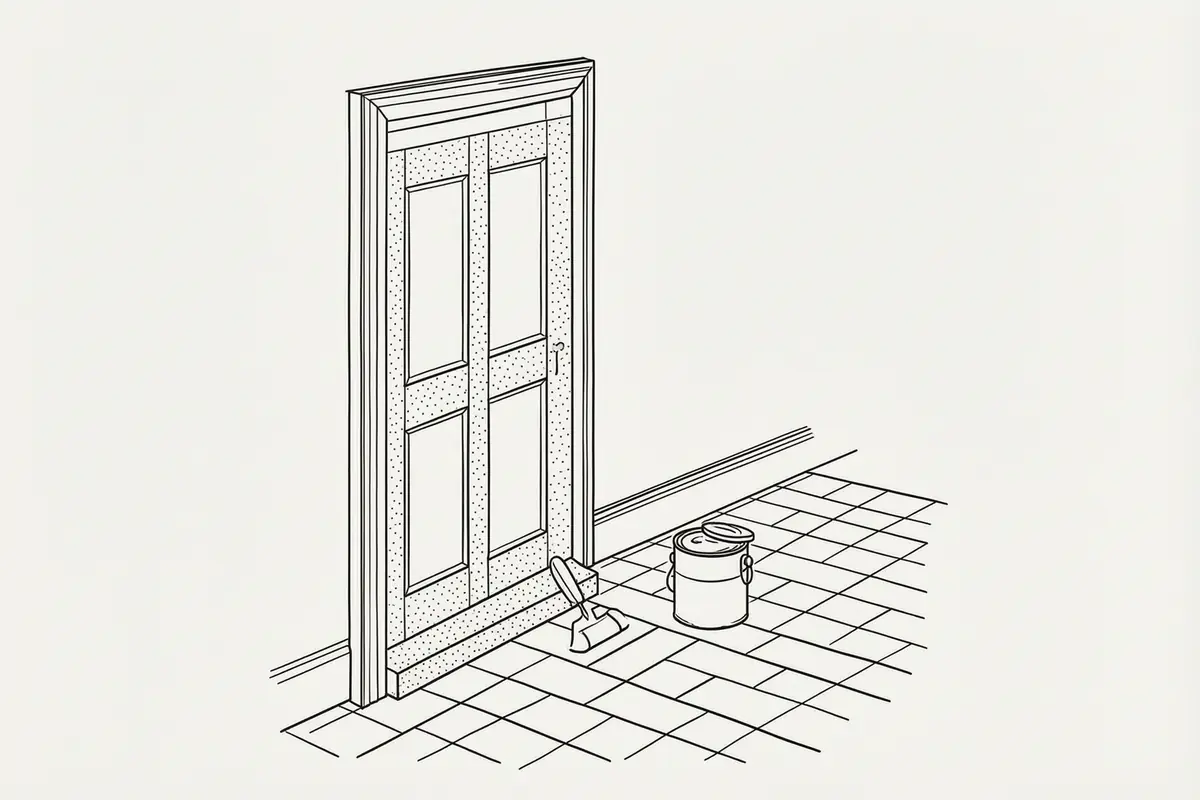
Woodwork is a different story: you are building a system rather than just laying on colour. A proper job on skirting, architrave, doors and window frames means primer on bare wood, then undercoat, then one or two topcoats of gloss, satin or eggshell. So previously painted trim in good condition is typically undercoat plus two topcoats, while bare wood adds knotting solution over the knots and a primer stage.
The preparation between those coats is where the finish is won. Previously painted trim wants washing with sugar soap to remove grease, then a thorough sand with 120 to 180 grit to key the surface. Between undercoat and topcoats we denib with 240 grit or a fine sanding pad — the difference between a glass-smooth finish and one full of nibs. If the existing surface is old gloss, do not skip this stage — our guide to painting over gloss covers it properly — because no paint grips a shiny surface without a key.
Product choice is the other trade-off. Oil-based gloss gives the hardest, glassiest film, but yellows noticeably on interior trim that gets little daylight and needs 16 to 24 hours between coats. Water-based satins and glosses stay white, recoat in four to six hours and are far kinder on odour, but take a week or two to reach full hardness, so treat freshly painted doors gently. The layered approach exists for durability: trim gets knocked and cleaned far more than walls. If you are unsure whether to reach for undercoat or primer, our explainer on undercoat versus primer clears up the difference.
Coats on exterior surfaces
Outside, two coats is again the baseline, but the surface dictates a lot. Masonry paint on render or brick almost always wants two full coats, and on a very porous, chalky or previously unpainted wall we apply a stabilising primer or a thinned first coat before those two — three passes total. Watch the coverage figures: smooth masonry covers at around 12 square metres per litre, but heavily textured render can more than halve that, so buy for the texture you actually have. On render we use a long-pile roller, 15 millimetres or more, because a short pile will not reach into the texture.
Exterior wood and metal follow the same primer-plus-undercoat-plus-topcoats logic as interior trim, only formulated to cope with rain, UV and the temperature swings of a Surrey winter; south-facing elevations weather fastest. Weather matters more than most people realise: we work above 10 degrees, on a fully dry surface, with no rain forecast for 24 hours, and we stop early enough for the film to form before the evening dew — which is why the exterior season in Surrey runs April to October. Direct hot sun is nearly as bad as damp, because the paint skins before it can level. Our exterior painters plan whole jobs around these weather windows.
Our step-by-step process for a standard two-coat wall
For a previously painted wall in reasonable condition, this is the sequence our decorators follow:
- Clear and dust-sheet the room, and loosen or remove switch and socket plates rather than cutting around them.
- Wash the walls with sugar soap and rinse, especially around switches, radiators and kitchen doorways where grease builds up.
- Fill cracks and holes, then sand the filler flush with 120 grit followed by 180 grit.
- Spot-prime the repairs with thinned emulsion or a primer-sealer so they do not flash through the finish coats.
- Cut in the ceiling line, corners and trim with a 50-millimetre synthetic brush, then roll the first coat with a medium-pile roller, working in metre-wide bands and keeping a wet edge.
- Wait the full recoat time — two to four hours for emulsion — then check the wall under raking light for misses and thin patches.
- Apply the second coat the same way, laying off in one consistent direction.
- Remove any masking tape while the final coat is still slightly soft, then touch in any pulls with the brush.
None of these steps is difficult; the discipline is doing all of them, in order, every time. Skipping the washing or the spot-priming is what turns a two-coat job into a three-coat one.
Drying and recoat times: do not rush the next coat
Getting the number of coats right counts for nothing if you rush between them. Two timings matter, and they are not the same thing: touch-dry is when the surface no longer feels wet; recoat time is when the film can accept the next coat without dragging, softening or trapping solvent underneath. The recoat time is the one to obey.
- Water-based emulsion: touch-dry in one to two hours; ready to recoat in two to four in a normally heated room.
- Water-based satin and gloss trim paints: recoatable in four to six hours, but the film keeps hardening for a week or two afterwards, so avoid scrubbing skirting in that first fortnight.
- Oil-based gloss and undercoat: much slower, typically needing 16 to 24 hours before recoating, so a coat a day is the safe rhythm.
Cold and damp stretch all of these times dramatically. Below about 10 degrees, or above roughly 80 per cent humidity, water-based paints dry slowly and unevenly — an unheated room in January is a poor place to decorate. Thick coats extend the times too, because the surface skins while the paint underneath is still wet. Always check the tin, because formulations vary. Recoating too soon is one of the most common causes of a finish that stays soft, peels or looks patchy.
Preparation and paint quality change the maths
Two things quietly decide how many coats you end up needing. The first is preparation. A wall that has been filled, sanded, cleaned and where necessary primed takes paint evenly and often looks finished in two coats; a poorly prepared wall can swallow three and still look uneven. Our guide to preparing walls for painting is the single biggest favour you can do yourself before opening a tin.
The second is the paint itself. Cheap contract emulsion is thin and low in pigment — it exists for builders misting out new plaster, not for producing a finished colour — so you chase the shade across three or four coats. A good-quality trade emulsion covers in two and levels out beautifully, which is why we are fussy about it; we have written up what we reach for in our guide to the best emulsion paint. The cheaper tin rarely wins: three coats of budget paint costs more in paint and time than two of good paint, and still will not wipe down as well.
Common mistakes we get called in to fix
A fair share of our work is putting right jobs that went wrong for predictable reasons:
- Stopping at one coat and hoping. The wall looks acceptable wet, then dries patchy.
- Stretching the paint too thin. Making a 2.5-litre tin do a whole room starves every coat, so three thin coats end up doing the work of two proper ones.
- Recoating too soon. The second coat drags and lifts the first — especially water-based satin on woodwork — leaving an orange-peel texture that has to be sanded back out.
- No mist coat on new plaster. Full-strength emulsion dries on the surface without bonding and can peel away in sheets months later.
- Emulsion straight over gloss trim. It never grips; it scratches off with a fingernail. Shiny surfaces need sanding and the right primer first.
- Covering a water stain with more emulsion. It bleeds back through every coat until a stain-blocking primer goes on.
Each of these costs more to fix than to avoid, because the failed coat usually has to be sanded back or sealed before repainting.
When it is worth calling in a professional
Plenty of straightforward two-coat rooms are well within reach of a careful DIYer with a weekend to spare. Bringing in a decorator starts to make sense when the coat count and the complexity climb together: a dark-to-light change through a whole house, a stairwell needing ladder work at height, rooms with lots of trim and panelling, fresh plaster throughout an extension, or exterior work where weather and access are both against you.
As a rough guide, most UK decorators charge between 150 and 250 pounds a day, with Surrey and London towards the upper end, and an experienced painter will typically get two coats onto an average room, cutting in included, inside a day. What you are really paying for is the preparation, the honest assessment of how many coats the surface genuinely needs, and a finish that does not need revisiting in six months.
Frequently asked questions
Is one coat of paint ever enough?
Very rarely — only when you are repainting in the same colour, the surface is clean, sound and even, and you are using good-quality paint applied at its full spreading rate. Any colour change, repair work, new plaster or cheap paint rules it out. Even then we usually apply a second coat anyway, because it is quicker than touching up the misses a single coat leaves behind.
How many coats of emulsion on new plaster?
Three passes: one mist coat followed by two full coats. The mist coat is matt emulsion thinned with roughly 20 to 30 per cent water, which soaks into the fresh plaster and gives the following coats something to bond to. Skip it and full-strength paint can peel off in sheets. Let the plaster dry completely first — uniformly pale pink, with no dark damp patches.
How many coats of paint over a dark colour?
Plan for three coats minimum, and ideally a basecoat plus two topcoats. Going from navy, charcoal or deep green to a pale shade is the hardest colour change there is, because dark pigments ghost through pale films. A dedicated basecoat or white undercoat first is cheaper per litre than your topcoat and does the blocking work, leaving the two finish coats to deliver the colour evenly.
How long to wait between coats?
Two to four hours for standard emulsion, four to six hours for water-based satin or gloss, and 16 to 24 hours for oil-based paints. These assume a normally heated room; cold or damp conditions can double them. Always follow the recoat time printed on the tin rather than judging by touch — a surface can feel dry while the film underneath is still too soft to take another coat.
Do one-coat paints actually work?
Only in narrow conditions: a light colour over a similar light colour, on a smooth non-porous surface, applied generously at the stated spreading rate of around 10 square metres per litre. They are thicker and more pigmented than standard emulsion, but over bold colours, fresh plaster or patchy walls you will still see through them. For any real colour change, budget for two coats regardless of the label.
How many coats of gloss on woodwork?
One to two topcoats over an undercoat on previously painted trim in good condition, and primer plus undercoat plus two topcoats on bare wood. The undercoat provides the body and opacity; the gloss provides the shine and toughness. Sand lightly between every coat with 240 grit, and give oil-based gloss a full day between coats. Two thin, well-brushed coats always outlast one heavy coat that sags and wrinkles.
Not sure how many coats your job needs? Ask us
Estimating coats accurately is part experience, part reading the surface in front of you — and getting it wrong costs money on wasted paint or time on redoing work. If you would rather have it done properly the first time, our interior painters cover homes right across Surrey, from Guildford to Woking, and we will tell you honestly how many coats your walls, ceilings and woodwork actually need before we start — including where a basecoat or stain block will save you a coat rather than add one. Get in touch through our contact page for a free, no-pressure quote and a straight answer.