In this article
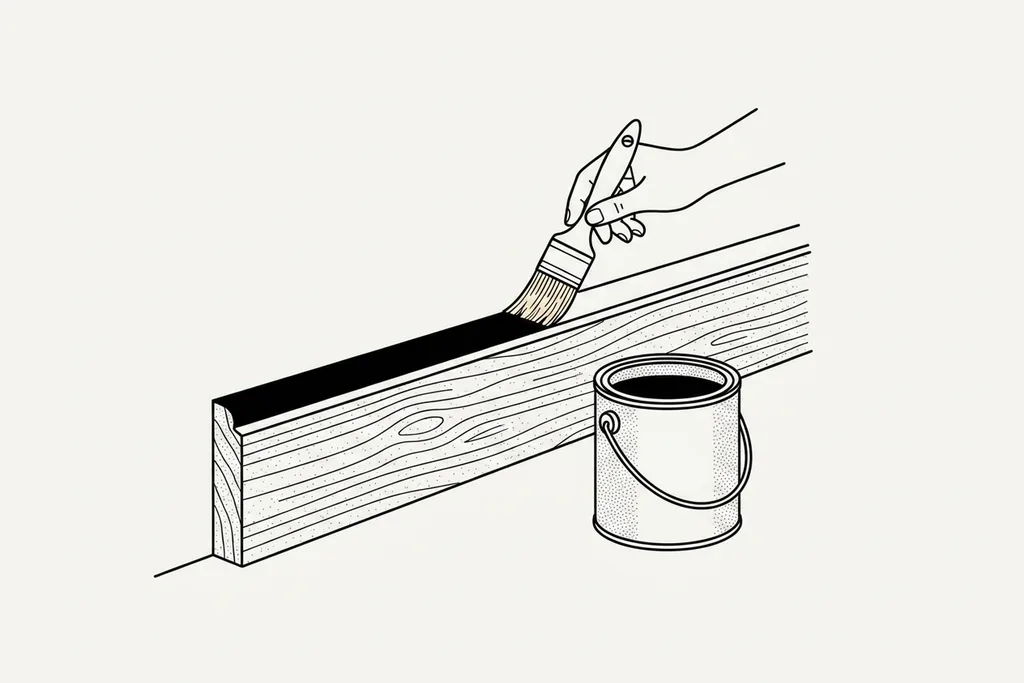
Painting wood well is one of those jobs that looks simple and turns out to be almost entirely about preparation. Anyone can slap paint onto a skirting board, but the difference between a finish that stays crisp for years and one that peels within a season comes down to what happens before the topcoat goes on. On a typical woodwork job our painters spend roughly two thirds of their time sanding, filling and priming, and only a third applying colour. Across Surrey, from Victorian sash windows in Guildford to MDF skirting in new Woking builds, the same handful of steps decide the outcome every time.
This guide walks through how our painters approach timber, whether it is bare, previously painted, varnished or knotty softwood. The principles are the same for a door, a window frame, a staircase spindle or a piece of furniture.
Start by working out what you are painting
Before you touch any sandpaper, decide which of four situations you are in, because each needs a different approach.
- Bare, new timber — never coated. This needs the fullest treatment: knotting, primer, undercoat and two topcoats, which on a standard door means five separate visits with a brush.
- Previously painted wood in good condition — sound paint that is looking tired. This needs a wash with sugar soap, a key with 120 to 180 grit paper and one or two fresh topcoats. No primer is required if nothing is flaking.
- Old, flaking or glossy paint — a failing or very shiny finish. Loose material has to come off with a scraper and 80 grit paper, and the surface degreased and keyed. We cover this in our guide on how to paint over gloss.
- Varnished or waxed wood — a sealed surface that paint will not grip until it is thoroughly sanded back. Wax is the worst offender: remove it completely with white spirit and wire wool first, or sanding just drags it deeper into the grain.
Be honest about the starting point: skipping the prep on a knotty pine door almost guarantees brown resin bleed through your lovely white finish within months.
The process at a glance
Every wood-painting job we do follows the same backbone. The detail sits in the sections below, but doing these steps out of sequence is where most DIY jobs go wrong.
- Wash with sugar soap and let the surface dry fully.
- Scrape off anything loose, then sand: 80 grit for stripping, 120 for shaping, 180 to 240 for finishing.
- Dust off, then wipe with a tack rag or barely damp cloth.
- Dab shellac knotting over every knot on bare softwood and let it dry.
- Prime bare wood, let it dry, then de-nib with 240 grit.
- Fill dents with wood filler, caulk the wall junctions, sand flush and spot-prime the filler.
- Apply undercoat if the system needs one; de-nib once dry.
- Brush on the first topcoat in thin, laid-off strokes and leave it alone.
- De-nib very lightly, dust off, then apply the second topcoat.
- Let everything cure before hard use.
On a room of skirting, architrave and one door, that sequence takes our decorators around a day and a half with water-based products.
Sanding and keying: the foundation of everything
Paint needs a slightly rough, clean surface to grip. That roughness is called a key, and creating it is the single most important thing you can do. On bare timber, sand along the grain, never across it, starting around 120 grit and finishing with 180 to 240. On previously painted or varnished wood, dull the whole surface with 120 to 180 grit until no shine is left anywhere; any patch you miss is a patch where the new paint can lift. You are not removing sound paint, only scratching its surface — thirty seconds per metre of skirting with fresh paper is usually enough.
A few habits our decorators swear by:
- Always sand with the grain; cross-grain scratches are almost impossible to hide under a sheen finish.
- Use a sanding block on flat areas so pressure stays even. On long runs or a staircase, an orbital sander with 120 grit discs saves hours, but finish the last pass by hand.
- For mouldings, spindles and beading, a flexible sanding sponge gets into shapes a block cannot.
- Change paper as soon as it clogs. Worn 120 grit does not become 240; it starts polishing instead of keying.
- Wipe every trace of dust off with a tack rag or slightly damp cloth. Dust trapped under paint feels like sandpaper once it dries.
Let sugar-soaped surfaces dry completely before sanding and painting; damp wood gives a patchy, slow-drying finish. And if the paintwork could pre-date the 1970s, it may contain lead: never dry-sand it to powder — use wet abrasive paper or chemical stripper, or ask a professional to assess it.
Knotting solution: stopping resin bleed on bare timber
Softwood such as pine and spruce, which makes up most skirting and architrave in UK homes, is full of knots. Those knots contain resin that stays active for years and will seep through paint as yellow-brown stains, especially when the sun warms a south-facing frame. The fix is a coat of shellac-based knotting solution dabbed over every knot and resinous streak before you prime. On very lively knots — the kind that feel sticky or glassy — we apply two coats.
Knotting dries in fifteen to twenty minutes and a small bottle does a whole house. It is the step people most often skip, and the number one cause of paintwork that looks lovely for a fortnight and then develops brown blotches. On reclaimed or visibly sappy timber, a full coat of shellac-based stain-blocking primer over the whole surface is safer than spot treatment alone.
Primer and undercoat: building the base
People often muddle primer and undercoat. Primer seals the bare surface and gives the paint something to bond to; undercoat builds an even, opaque base so the topcoat covers cleanly. Bare wood ideally wants both, in that order — our post on undercoat versus primer explains the difference in full.
For most interior woodwork, a water-based primer-undercoat combined in one product is perfectly sufficient. It covers roughly 10 to 12 square metres per litre, is touch dry in about an hour and recoatable in four, so you can prime in the morning and topcoat the same afternoon. On bare hardwood, resinous timber or anything going outdoors, we use a dedicated primer first, then a separate undercoat: exterior systems live or die by their foundation. Between coats, give the primer a light rub with 240 grit to knock back raised grain, then dust off. This de-nibbing between every coat is the quiet trick behind the glassy smoothness of professional work — two minutes per door.
One coat of primer is enough on clean bare softwood, but end grain — the cut ends of boards and the bottom edges of doors — drinks paint and deserves a second pass. End grain is exactly where moisture gets into exterior timber and starts rot.
Filling gaps, dents and grain
With the primer on, flaws show up clearly, which is exactly when to fill them. Use a fine wood filler for dents, splits and nail holes, pressing it in slightly proud so you can sand it flush; most fine fillers are sandable within thirty to sixty minutes, and two-part fillers for deep repairs harden in about twenty. Where timber meets a wall — the top of skirting, the edge of an architrave — use flexible decorator's caulk instead, because caulk moves with the house and will not crack. Smooth the bead with a wet finger and let it skin for at least an hour, ideally overnight, before painting over it.
Sand filled areas smooth with 180 then 240 grit, feathering the edges, then spot-prime the bare filler — unprimed filler flashes through the topcoat as dull patches. If the plaster around the woodwork is cracked too, our guide on how to fill cracks in walls covers that side of the job. Filler left proud will telegraph through the gloss and catch the light forever.
Water-based versus oil-based topcoats
This is the choice that surprises most homeowners. Traditional oil-based gloss flows out beautifully, covers around 16 square metres per litre and gives that deep, glassy sheen, but it yellows noticeably over time, particularly in rooms with little daylight, and it is slow — sixteen to twenty-four hours between coats, with heavy fumes. Modern water-based (acrylic) trim paints have improved enormously: they stay brilliant white, are touch dry in one to two hours, recoatable in four to six, barely smell and cover around 12 square metres per litre, so a one-litre tin does the woodwork of an average room twice over.
- Choose water-based for most interior woodwork, especially whites and pale colours, high-traffic areas and quick turnarounds. It keeps its colour and takes a second coat the same day.
- Consider oil-based where you want the flattest, most self-levelling finish on a special piece, or for certain exterior situations, accepting that whites will warm over time.
Sheen matters as much as chemistry. Full gloss is the hardest-wearing and the least forgiving, highlighting every ripple; satinwood is the modern default for skirting and doors; eggshell gives the softest, most period-appropriate look, which is why we favour it on older Surrey joinery. Whichever you pick, plan for two topcoats over the undercoat — one coat almost never gives an even film, a point we unpack in our guide on how many coats of paint a surface really needs.
One practical note: water-based paint raises the grain slightly on bare or filled wood, so the light sand between coats matters even more than with oil. And do not mix systems carelessly — acrylic over oil that has not fully cured can crack, and water-based paint over unsanded old gloss will peel in sheets.
Brush technique for a smooth finish
Good paint and good prep still need a steady hand. The biggest mistake we see is overworking the paint — brushing back and forth after it has started to set, which drags the surface and leaves ridges. Water-based formulas can tack up within minutes in a warm room, so once a section is laid off, leave it alone.
- Use a quality synthetic-bristle brush for water-based paints and natural bristle for oil. Size to the job: 1 inch for glazing bars and beading, 1.5 inch for skirting, architrave and spindles, 2 inch for door faces.
- Load the brush a third of the way up and tap off the excess rather than scraping the rim. Decant into a kettle so you are not contaminating the whole tin.
- Lay the paint on with the grain, spread it out, then finish with light strokes in one direction. These final passes — laying off — are what remove brush marks.
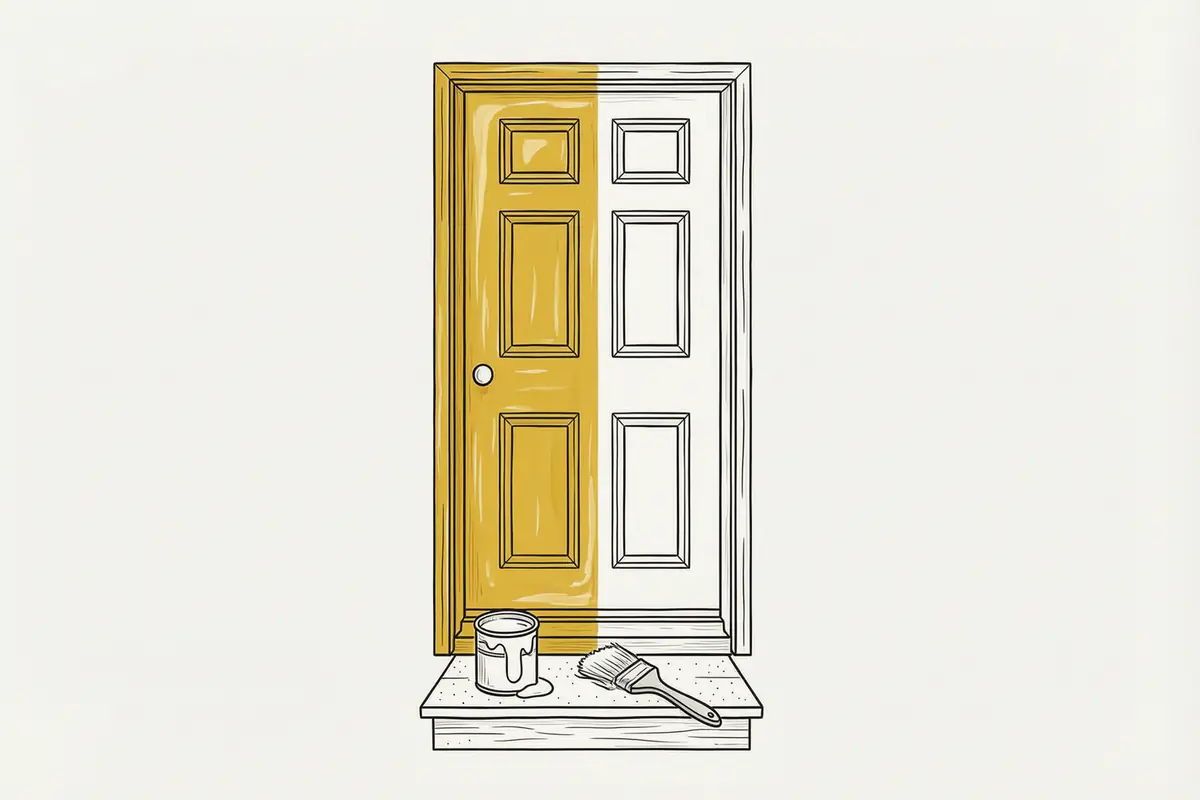
- Keep a wet edge, blending each new section into the last before it skins. On a panelled door that means a strict order: mouldings, panels, centre verticals, horizontal rails, then the outer stiles last.
- Two or three thin coats always beat one thick one. Thick coats sag, run and take an age to dry.
For large flat doors and panels, many decorators roll the paint on with a 4 inch short-pile foam or microfibre roller and lay off with a brush — applied by roller, perfected by the final brush pass. For flawless factory-style results on kitchen units and long runs of joinery, spraying beats brushing altogether, which is why our spray painting team uses HVLP equipment for that kind of work.
Drying, recoating and curing
Patience between coats is not optional. Recoat too soon and you drag the layer beneath, causing wrinkling. Water-based trim is usually recoatable in four to six hours, oil-based needs sixteen to twenty-four. Aim to paint between 10 and 25 degrees Celsius: below about 8 degrees most water-based paints stop filming properly, and above 25, or in direct sun outdoors, the paint skins before it can level. Humidity over about 80 per cent slows water-based paint dramatically, so a drizzly day can double drying times.
Touch-dry is not the same as cured. Water-based trim reaches full hardness in around seven days, oil-based in two to three weeks, and until then the film will imprint. Treat fresh paintwork gently: no stacking things against skirting, no tape. Doors and casement windows closed before the paint hardens will stick and tear the finish when forced — a fault decorators call blocking — so leave them ajar overnight. Keep the room ventilated but not draughty, since blown dust on wet paint undoes all your careful sanding.
Common mistakes we get called in to fix
A fair share of our woodwork jobs start with putting right a previous attempt, and the same faults come up again and again — every one traces back to a skipped step.
- Peeling off varnish or old gloss — paint applied over shine with no key. It looks perfect for weeks, then comes away in ribbons at the first knock. The only fix is stripping back and sanding properly.
- Brown stains over knots — knotting skipped on bare softwood. The stains bleed through any number of coats; they need sanding back and sealing with shellac.
- Runs and curtains on door edges — one thick coat instead of two thin ones. Set runs must be sliced off once hard, sanded flat and recoated.
- Gritty, bitty finishes — painting over sanding dust. A tack rag costs pennies and prevents it entirely.
- Sticking doors and windows — closed before the paint cured. Meeting edges need thin coats and generous drying time.
- Visible brush ridges — paint overworked after it began to set. More paint will not hide ridges; only sanding flat and a properly laid-off coat will.
None of these faults are irreversible; they just mean going back a step or two rather than adding more paint on top and hoping.
Where a professional finish is worth it
None of this is beyond a careful, patient homeowner, and a single door is a satisfying weekend project. Where it becomes worth calling in a decorator is the bigger or trickier work: a whole staircase, a run of tall sash windows, exterior joinery two storeys up, or period woodwork where a mistake is costly. As a guide, decorators in the South East typically charge in the region of 180 to 280 pounds a day, and an experienced hand gets through prep far faster than a weekend DIYer, so the maths on a large job is closer than people expect. If you are tackling older window frames, our advice on painting wooden windows in period homes goes deeper into that challenge.
Frequently asked questions
Can you paint wood with emulsion paint?
You can, but we would not recommend it for any woodwork that gets touched or knocked. Emulsion is designed for walls: it dries soft, marks easily and offers no protection, so on skirting or doors it scuffs and chips within weeks. Use a dedicated trim paint — satinwood, eggshell or gloss. For a flat, chalky look on furniture, choose a wood eggshell or dead-flat wood paint rather than wall emulsion.
How do you paint already-painted wood?
If the old paint is sound, wash it with sugar soap, sand the whole surface with 120 to 180 grit until every trace of shine has gone, fill any dents, then apply one or two topcoats — no primer needed. If the old finish is flaking, scrape and sand back to a firm edge, spot-prime bare patches and undercoat before the topcoats.
Do you need to prime wood before painting?
Bare wood always needs primer; previously painted wood in good condition does not. Primer seals the absorbent surface and gives following coats something to bond to — without it the topcoat soaks in patchily and grips poorly. On bare softwood the order is knotting, then primer, then undercoat. Over sound existing paint, a good key with abrasive paper does the primer's job and you can go straight to topcoats.
What happens if you don't sand wood before painting?
The paint has nothing to grip, so it sits on the surface and eventually peels, chips or scratches off — on shiny gloss or varnish it can fail within weeks. Sanding creates the fine scratches, the key, that paint locks into, and skipping it also leaves every old drip and rough patch visible under the new finish. Even five minutes with 120 grit paper transforms adhesion.
How long should wood paint dry between coats?
Water-based wood paints are usually recoatable in four to six hours; oil-based paints need sixteen to twenty-four. Always check the tin and add time in cold or humid conditions, which can double drying times in a British winter. Recoating too early drags the soft layer beneath and causes wrinkling. If a fingernail pressed gently into an unseen spot leaves a mark, the paint needs longer.
How do you stop knots bleeding through paint?
Seal every knot with shellac-based knotting solution before you prime, using two coats on sticky or glassy-looking knots. Shellac is the one common material resin will not creep through; ordinary primer alone does not stop it. If knots have already bled through a painted finish, sand the stained area back, seal with knotting or a shellac stain-blocking primer, then repaint. On very resinous boards, prime the whole surface with stain blocker.
Talk to us about your woodwork
Our team handles everything from full-house interior repaints to specialist timber work, and we are always happy to advise on the right approach for your particular wood, from one stubborn door upwards. If you would rather leave it to us, take a look at our wooden window painting and furniture painting services, or get in touch through our contact page for a free, no-pressure quote anywhere in Surrey. We will happily talk through the job and the finish you are after.