In this article
The handover photos look perfect: crisp white walls, glossy skirtings, a blank canvas. Then, somewhere between six and eighteen months in, the hallway is scuffed grey, a hairline crack opens above the lounge window, and a shadow of black mould creeps along the bathroom ceiling.
None of that is bad luck. It is the predictable result of a developer's standard finish, applied at speed in cold, damp, end-of-build conditions, on surfaces that were never properly prepared.
We decorate new builds across Surrey, from the estates around Guildford and Woking to plots in Epsom and Reigate, and the same shortcuts show up almost every time. This checklist covers what to look for, and what to put right, so your home holds up long after the builders have left.
Why a New Build Still Needs Decorating
The Building Regulations a developer must meet, chiefly Part L (Conservation of Fuel and Power) and Part M (Access), say nothing about how a wall looks or how long the paint lasts. Surface quality is left to the National House Building Council (NHBC) standards, which are a minimum rather than a benchmark.
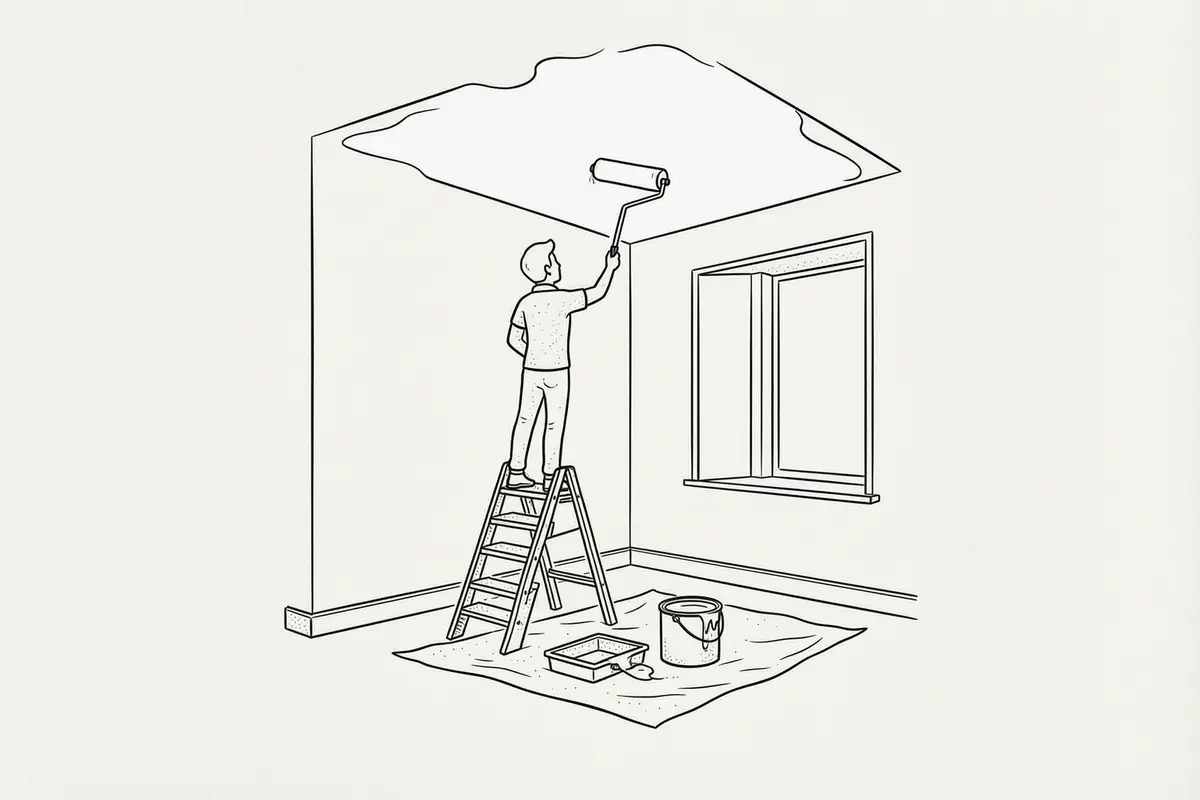
Internal finishes are where most snagging complaints cluster: thin paint over unprimed plasterboard, marks and streaks, and unsealed gaps around windows and skirting. The work gets done in the rushed final weeks of a build, often in cold or damp conditions that weaken adhesion from the start, one of the reasons paint never fully cures or hardens.
Your developer warranty covers structural defects, not cosmetic ones. Uneven paintwork, missing undercoat and skipped caulking are yours to sort out, so a decorating refresh after handover is what makes the finish last.
The New Build Decorating Checklist
1. Check the surface preparation
Prep is the first thing to suffer under a deadline, and it is the foundation everything else sits on.
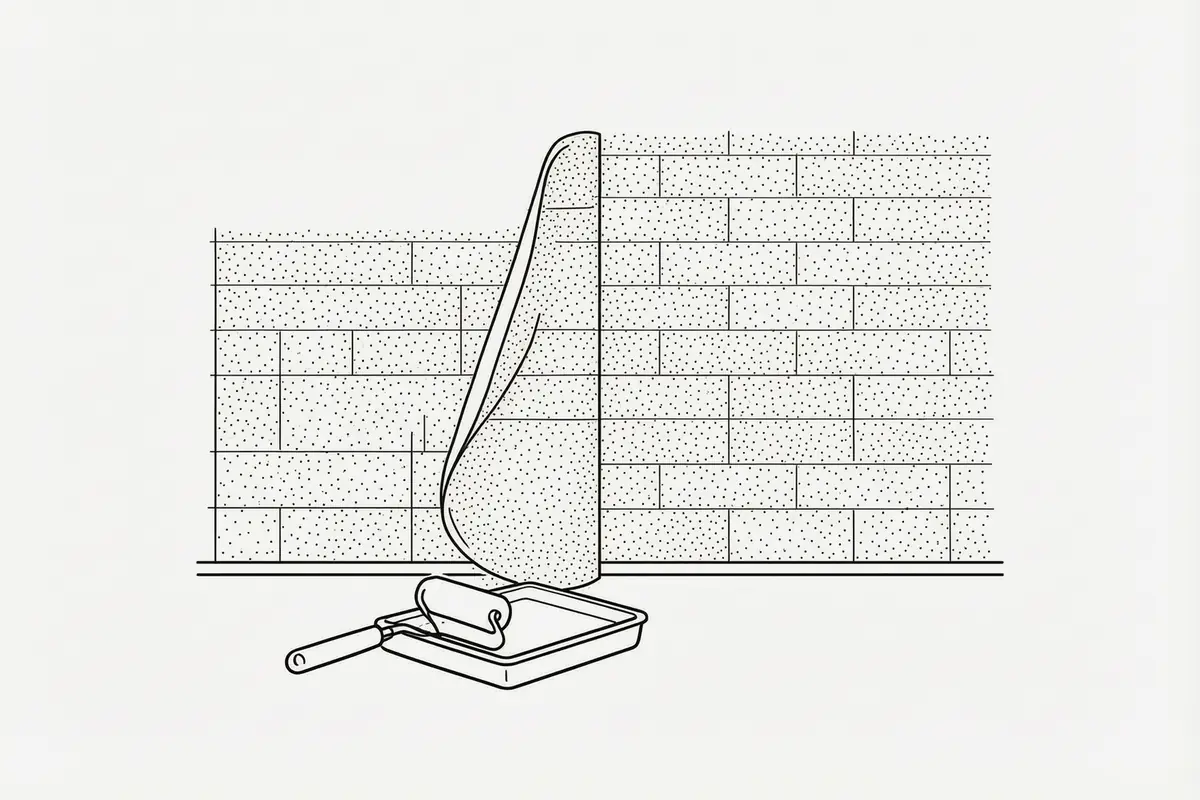
- New plasterboard and fresh plaster are porous. Paint applied without a thinned mist coat soaks in unevenly, leaving patchy sheen and poor adhesion.
- A quick skim can hide small defects from the developer's eye, then show them clearly once a proper coat goes on under good light.
- Fine construction dust sits on every surface and stops paint bonding.
What to do: lightly sand the walls, fill any minor dents and nail pops, and wipe down with a damp cloth before you redecorate. On bare plaster, start with a mist coat (emulsion thinned with water) so the topcoats grip. Our guide on how to prepare walls for painting sets out the full sequence.
Don't assume white walls are ready to go. Most developer paint is a low-grade contract vinyl matt: thin, non-washable, and quick to mark.
2. Find the missing seals and gaps
Developers routinely skip the flexible sealant that protects the joints where different materials meet:
- Window and door frames
- Skirting-board-to-floor junctions
- Internal corners where walls meet ceilings
Left open, these gaps let in draughts, let out heat, and give moisture and insects a way in. They also crack: a rigid line of paint splits as the timber and plaster move with changes in temperature and humidity.
What to do: run a bead of good-quality decorator's caulk or flexible acrylic sealant along these joints before painting, then tool it smooth. This matters most in bathrooms and kitchens, where humidity swings hardest. Proper sealing also supports Part C (moisture resistance) and Part F (ventilation) by cutting the cold bridges where condensation forms.
3. Upgrade to washable, durable paint
The contract emulsion a developer rolls on is chosen to cover quickly and cheaply, not to live with a family. Standard vinyl matt:
- Cannot be wiped clean without burnishing
- Shows scuffs and finger marks almost at once
- Offers no mould resistance
For the rooms that take a beating, hallways, stairs, landings and children's bedrooms, step up the specification:
- A scrubbable emulsion such as Dulux Easycare or a soft-sheen finish, applied as a two-coat system over the mist coat.
- A bathroom-grade paint with an anti-mould additive in bathrooms, utility rooms and the kitchen.
- Low-VOC and breathable formulations to keep indoor air healthier in an airtight new build. If that matters to your household, our guide to choosing eco-friendly paints goes deeper.
What to do: repaint the main living areas with a quality finish from the outset. It is far cheaper than stripping back and starting again in eighteen months.
4. Don't forget the woodwork
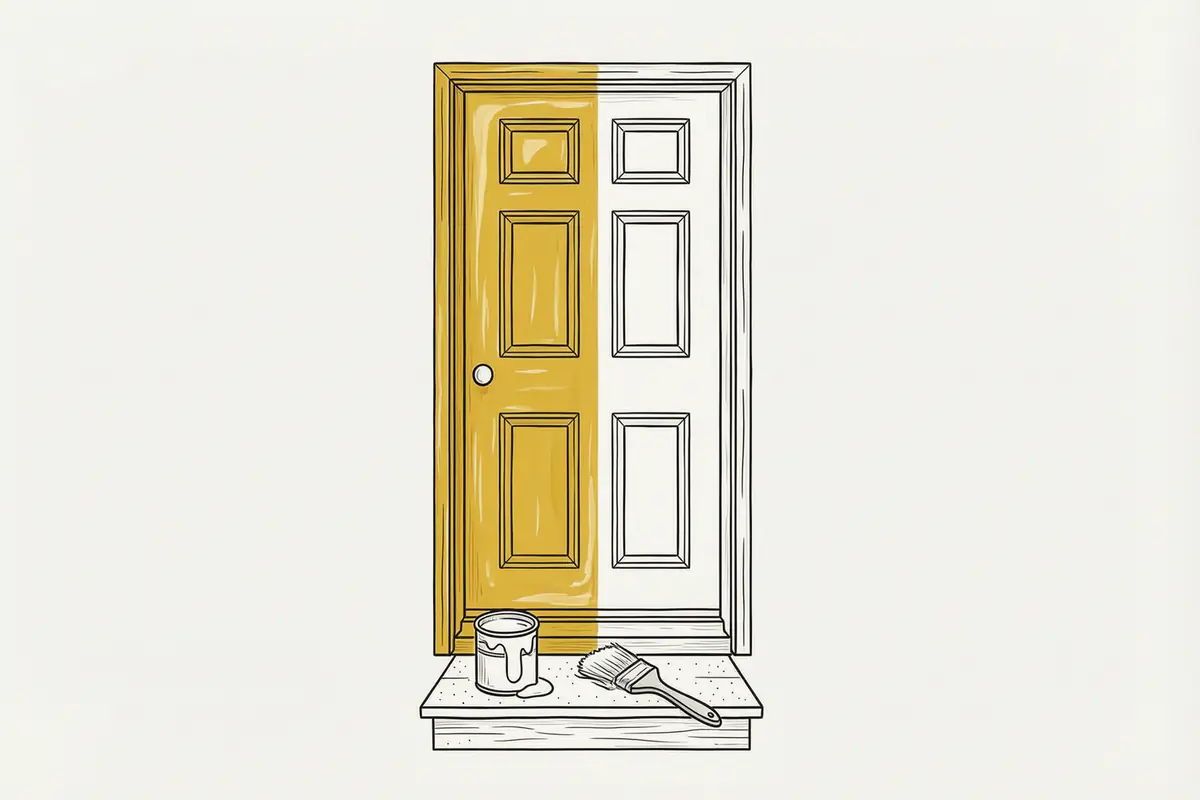
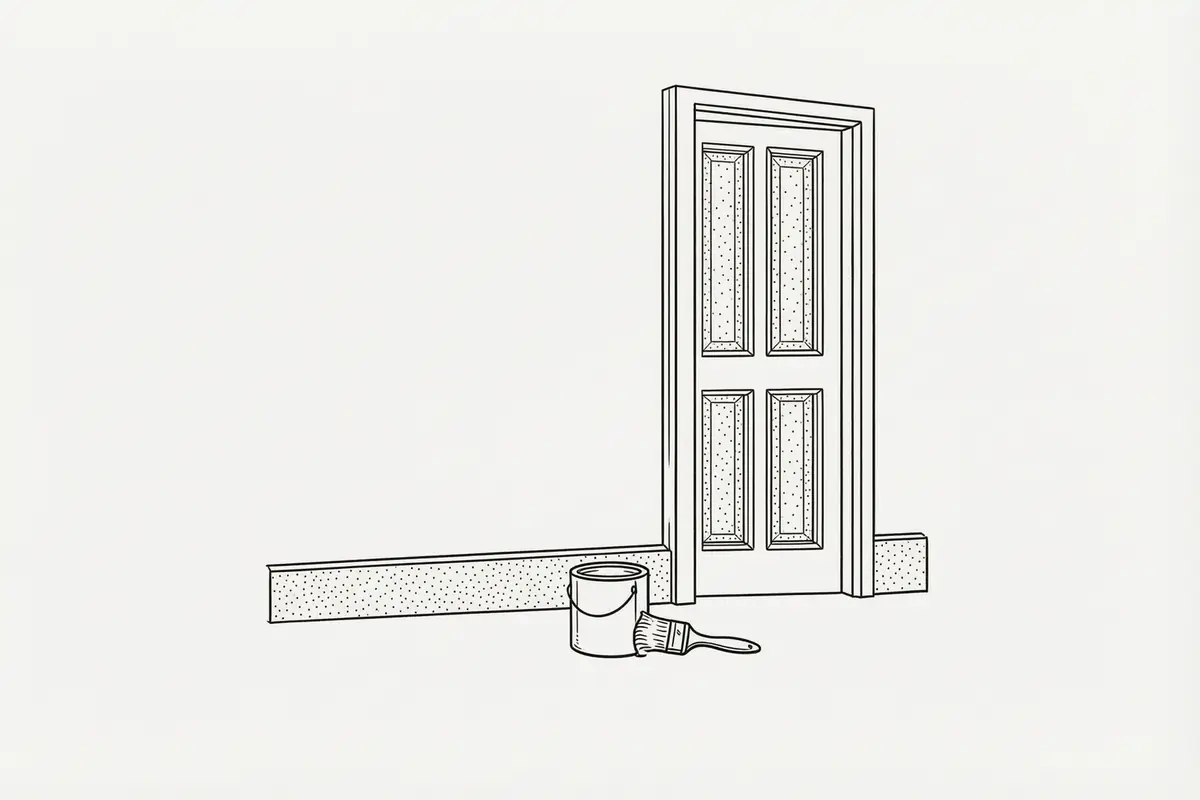
New doors, skirtings and architraves usually leave the factory with one thin coat. Brushed over once on site, that finish yellows and chips within a year, and the joins between lengths of skirting open up.
What to do: sand lightly to key the surface, caulk the gaps, then apply a proper undercoat and two coats of a durable water-based satinwood or eggshell, which yellows far less than traditional oil-based gloss. For a run of doors and a full set of skirtings, a sprayed finish is hard to beat: it lays down flat with no brush marks. Our spray painting service is built for exactly that kind of woodwork.
5. Manage ventilation and condensation
An airtight build is great for energy bills and awkward for moisture. With nowhere to escape, the water vapour from showers, cooking and drying clothes condenses on the coldest surfaces, and black mould follows on outside walls, corners and window reveals.
What to do:
- Check the extractor fans actually run in the bathrooms and kitchen.
- Keep the trickle vents in the window frames open, as Part F intends.
- Use an anti-mould paint in the rooms most at risk.
Painting over existing mould only hides it. Clean the area with a fungicidal wash and let it dry first; if it keeps returning, the cause is damp, not decoration, and our guide on how to spot and treat damp explains how to tell the difference.
6. Plan ahead for maintenance
A new build has none of the lived-in patina that forgives a knock or a mark. Every dent, scuff and stain reads against flat white walls. A little planning makes the home far easier to keep:
- Choose mid-tone colours rather than stark white; they disguise everyday marks.
- Box your tins (mix multiple cans of the same colour together) so future touch-ups blend invisibly.
- Keep the leftover paint sealed and labelled by room, along with the product names and codes.
If you are decorating to let rather than to live in, the same logic is even sharper between tenancies, as we cover in painting rental properties inside and out.
When to bring in a professional decorator
Plenty of new-build prep is within reach of a confident DIYer. Where a professional earns the fee is in judgement and finish:
- Spotting which cracks are harmless settlement and which need watching.
- Specifying the right trade products for each room, not whatever is on the shelf.
- Choosing the right method, brush, roller or spray, for each surface.
- Working to a tidy, fully insured schedule in a home you have just moved into.
Our interior painting team in Surrey turns a developer's blank-canvas finish into a home that lasts, alongside the wider job of preparing your home for interior decorating. If you are settling into a new build around Guildford, we are happy to take a look before you start.
A new build arrives looking finished. With a sound checklist and proper preparation, it stays that way. Get a free quote and we will tell you exactly what your plot needs, and what it does not.