
In this article
A void period is expensive. Every week a Surrey let sits empty between tenancies is a week of lost rent, so when a landlord asked us to repaint a five-bedroom house inside and out, the brief was simple: get it back to a lettable standard quickly, without cutting corners that would bounce back as complaints six months in.
The handover was the usual story. A few years of back-to-back tenants had left scuffed walls, tired woodwork, a dated bathroom and exterior cladding that had faded and started to flake on the weather side. None of it was a disaster, but cumulatively it read as "needs work" to anyone viewing, which is exactly what drags out a void.
The brief: a clean, neutral, hard-wearing reset
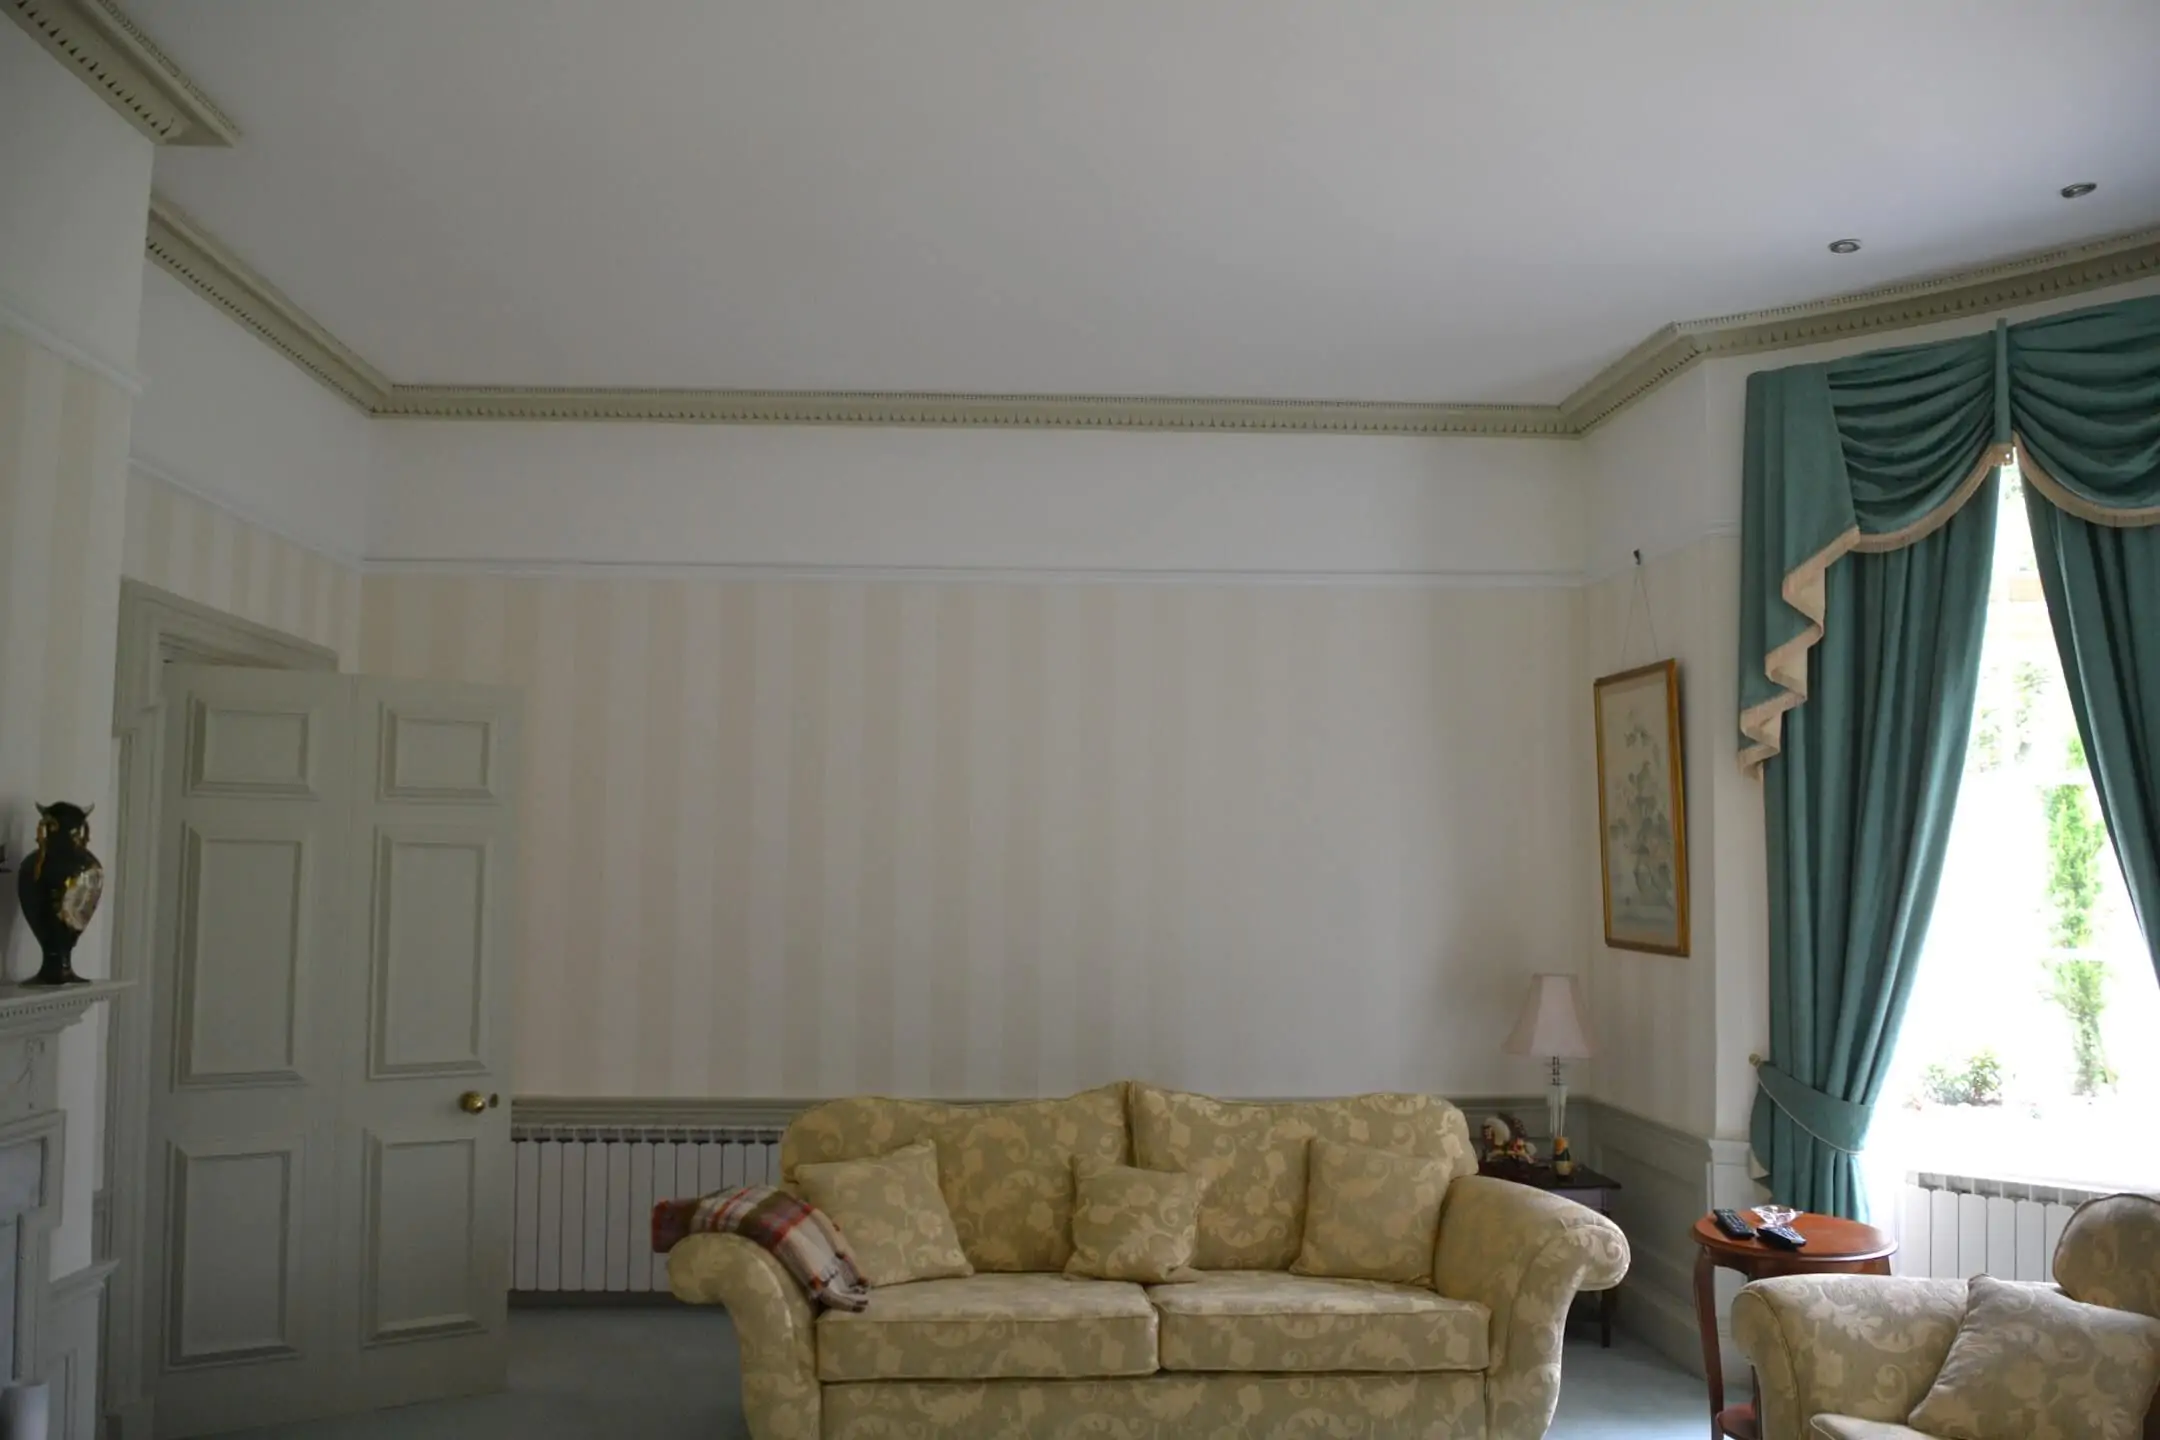
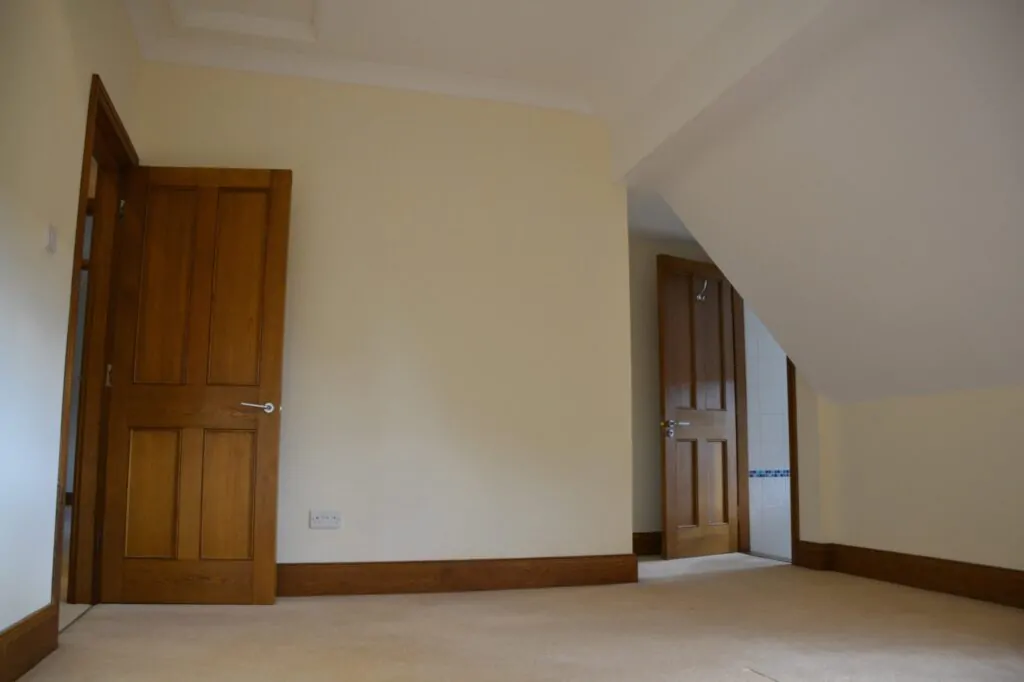
We agreed a whole-house scheme of warm off-whites for the walls and ceilings with a crisp white on the woodwork. Neutral photographs well for the listing, suits the widest pool of applicants, and makes future touch-ups between short tenancies easier because there's no bespoke colour to chase.
For a rental, durability matters more than fashion, so we specified a tougher, wipeable finish on the high-traffic walls rather than a budget matt that marks the moment a sofa brushes past it.
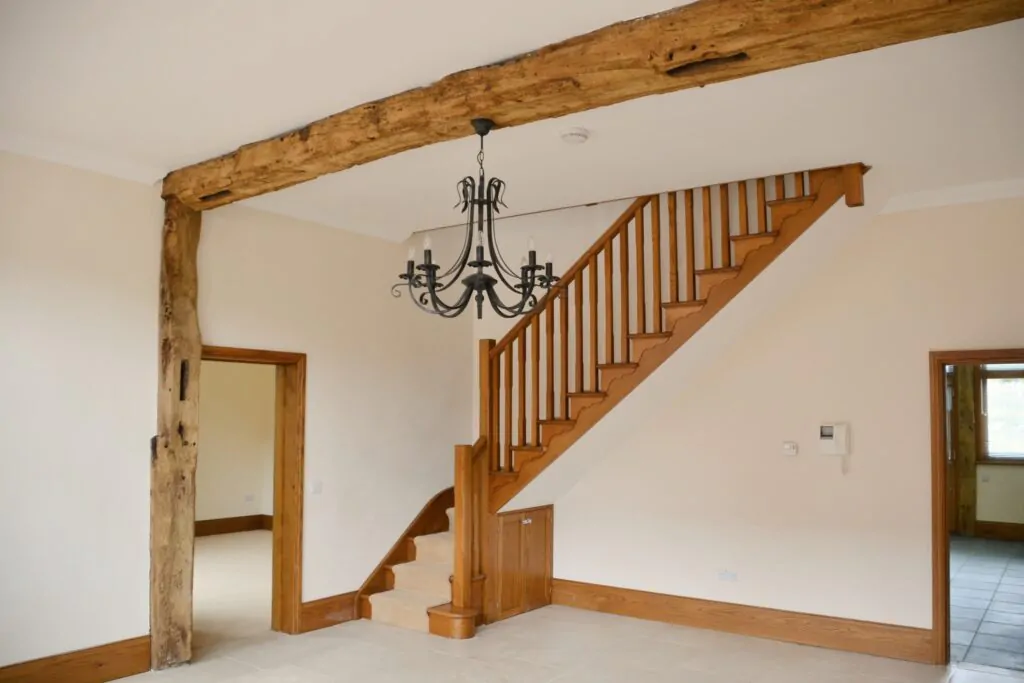
Prep first: where a void-period repaint is won or lost
The finish is only ever as good as what's underneath, and empty rooms are the one chance to do prep properly without working around someone's furniture. Across the bedrooms and living spaces the prep ran to a familiar checklist, the same groundwork we'd recommend to any homeowner preparing walls for painting:
- Filling nail holes, picture fixings and the inevitable knocks, then sanding flush.
- Raking out and caulking gaps along skirting, architrave and where walls meet the ceiling.
- Sugar-soaping greasy or smoke-touched areas so paint actually keys to the surface.
- Spot-priming filler and any bare patches, plus a stain-blocker over a couple of old watermarks so they couldn't ghost through the topcoat.
One bedroom showed early signs of damp in a cold corner. We traced it to a minor exterior issue rather than anything structural, dried and treated the area, and used a paint with an anti-mould additive there so the problem wouldn't quietly return on the next tenant's watch.
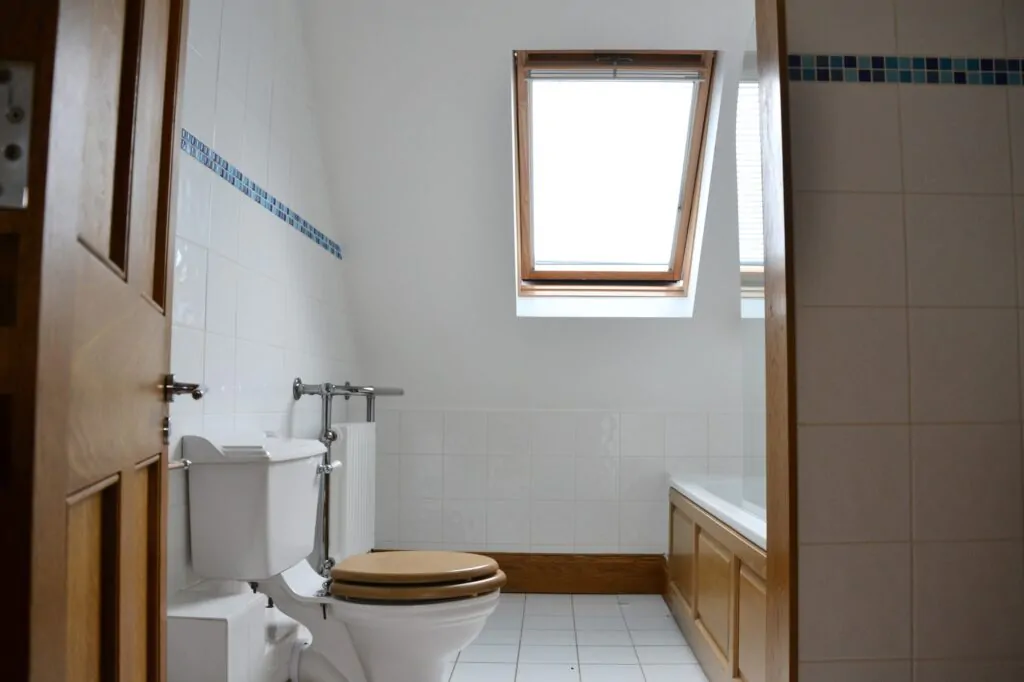
The bathroom: the room that needs the right paint, not just the right colour
Bathrooms are where landlord repaints most often go wrong. A standard emulsion in a room that steams up daily will blister, peel and grow mould within months, so we used a moisture-resistant, wipeable finish here that can take condensation and the occasional wipe-down.
Ceilings suffer first, so we treat them as their own decision rather than an afterthought. If you're weighing up options for your own bathroom, our notes on choosing the best paint for a bathroom ceiling cover the same thinking we applied here.
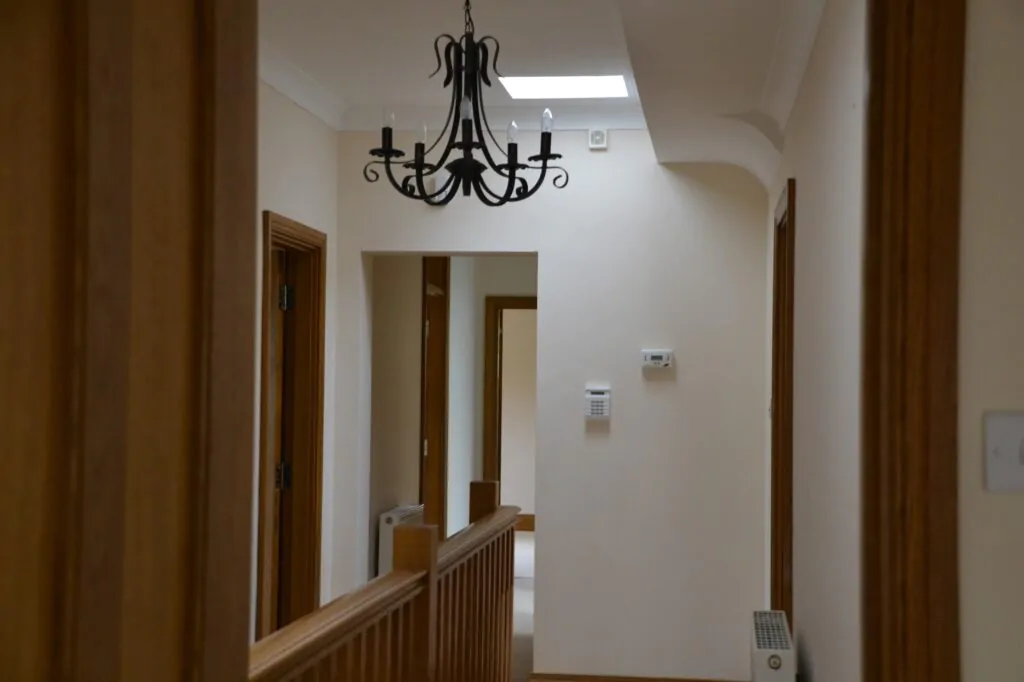
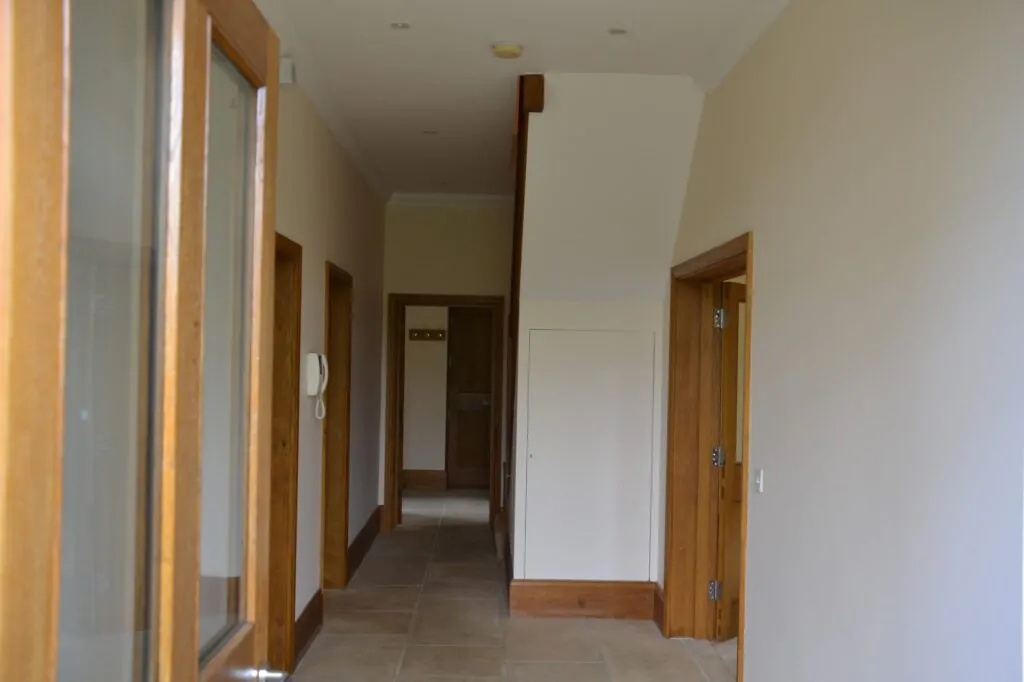
Walls and woodwork: a clean two-coat system throughout
With the prep signed off, the interior painting moved quickly. Walls and ceilings took two full coats of emulsion over the primed surfaces, cut in by hand and rolled in the field for an even, flat finish with no framing or roller marks. Working room by room through an empty house let each coat dry properly rather than being rushed.
The woodwork is what separates a quick freshen-up from a job that looks new. We rubbed down the skirting, architrave, doors and frames, filled and caulked, then applied a water-based satinwood. Modern water-based trim stays whiter than old-fashioned oil gloss, which yellows over time, and it's low-odour and quick to recoat.
Outside: protecting the timber cladding through a Surrey winter
The exterior needed care rather than speed. Timber cladding on the weather-facing elevation had lost its film and begun to flake, leaving bare patches exposed to rain. Painting straight over that would have trapped moisture and peeled by the following winter, so the exterior work started with proper preparation.
We scraped back the loose material, sanded the boards, and let the timber dry across a settled spell rather than coating damp wood. Bare areas were primed, then the cladding took two coats of a flexible exterior wood finish that moves with the timber through the seasons. Get that wrong and the film cracks; get it right and it sheds Surrey's wet winters for years. We kept to a colour suited to the surroundings and a product built for our damp climate, the same priorities we set out in our guide to choosing the best exterior paint for Surrey.

The result: a lettable house, turned around without drama
The house went back to the agent looking genuinely refreshed rather than patched up: clean neutral walls, crisp white woodwork, a bathroom that can cope with daily use, and an exterior protected for the seasons ahead. For the landlord that means a faster re-let, fewer maintenance calls, and a property that holds its standard through the next changeover instead of needing the same work again in a year.
Doing it once and doing it properly is what makes a rental repaint worth the spend. The same approach scales down to a single flat between tenants or up to a portfolio refresh, and it overlaps closely with the prep discipline we apply on a new build handover.
If you're a landlord or letting agent in Surrey or South West London with a property to turn around between tenancies, we're happy to take a look and give you a clear, no-obligation plan. You can request a free quote or call us on 01483 694110.