
The fastest way to ruin a roll of wallpaper is to hang it directly behind a basin or shower, then wait for the steam to lift the seams. Most bathroom wallpaper failures we are called out to fix are not the paper's fault at all: they come down to the wrong zone, the wrong adhesive, or a room with no working extractor fan.
Wallpaper and wet rooms used to be a firm "don't", but that has changed. Vinyl-coated and solid-vinyl coverings now shrug off splashes and condensation, and plenty of homeowners across Surrey and South West London use them to lift a tired bathroom or kitchen out of the usual tile-and-flat-paint default. Success just depends far more on placement and preparation than on the design you fall for. Here is where wallpaper belongs in a wet room, the three paper types that hold up, and the method our wallpaper hangers follow.
Why wallpaper in wet rooms is no longer a "don't"
The old objection was simple: paper and paste absorb moisture, so seams warp, edges peel and mould creeps in behind the print. That still holds for standard uncoated wallpaper, but not for the modern moisture-resistant ranges.
Vinyl-coated papers, solid vinyls and non-woven coverings with a protective finish are built to handle condensation and repeated wiping. The decorative surface sits within or behind a vinyl layer, so a splash beads off instead of soaking in. Before you buy, check the data sheet rates the paper washable or scrubbable and carries an appropriate flame-spread rating. The technology is no longer the limiting factor: placement, the right adhesive and ventilation decide whether the finish lasts.
Where wallpaper belongs in a wet room (and where it doesn't)
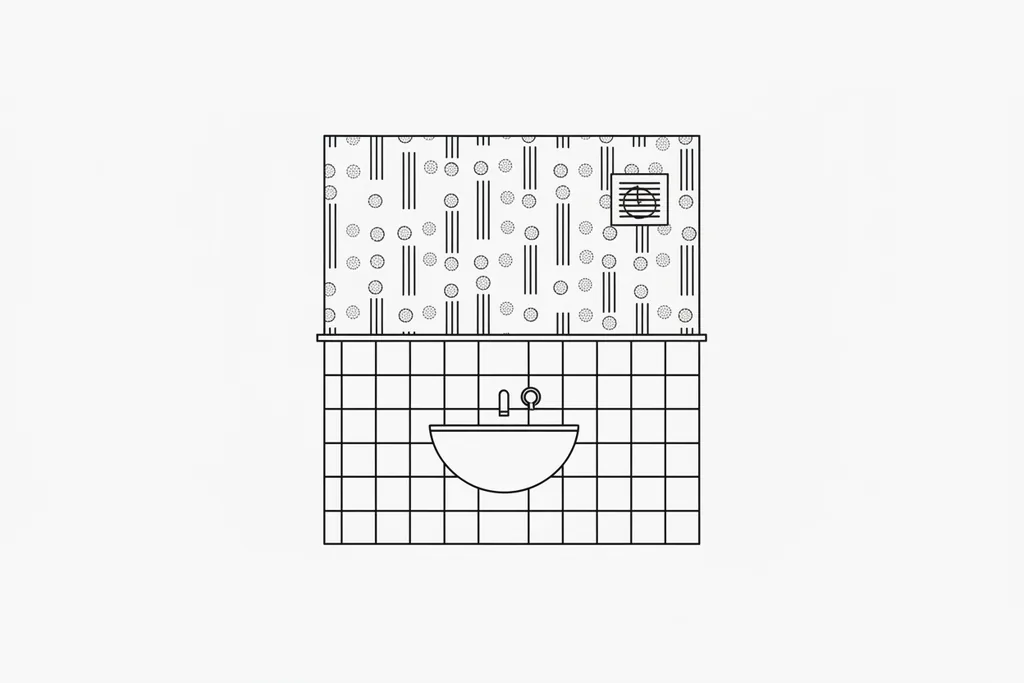
The single biggest decision is zoning. Keep wallpaper out of the splash line and it will behave; put it where water lands directly and no paper will save you. Sensible spots are above a tiled splashback behind a basin or hob, full walls in cloakrooms and downstairs loos, a feature wall opposite the shower in a well-ventilated room, or the upper section of a wall above a dado rail with tiling or panelling below, a classic solution in Surrey period homes.
Steer clear of the high-risk zones: directly behind the shower head, within roughly 60 cm of a bath edge, and unventilated en suites with no extractor fan where steam has nowhere to go. Ceilings are best left to a good moisture-resistant bathroom ceiling paint unless you are using a specialist lining system.
Ventilation is non-negotiable. UK Building Regulations (Approved Document F) require extract ventilation in bathrooms, and a working fan is what stops condensation settling on the paper. If the room already feels clammy or you see black spotting, sort the underlying issue first; our guide to spotting and treating damp covers what to look for.
Three wallpaper types that actually work
Not every "washable" claim means the same thing. These are the three categories we reach for in wet rooms, with the jobs each one suits.
1. Vinyl-coated paper
Best for feature walls, cloakrooms and kitchen zones above the worktop. A paper base carries a thin, wipeable vinyl surface. It is the most forgiving to hang and the most affordable of the three, and copes well with the odd splash rather than constant wetting.
2. Solid vinyl
Best for high-traffic utility rooms, downstairs loos and busy kitchens. The decorative layer is a thicker vinyl, so it takes a firmer clean with mild detergent and stands up better to scuffs and steam. Many ranges are marketed as scrubbable and mould-resistant, which makes this the workhorse choice where durability matters more than a delicate finish.
3. Non-woven with a protective finish
Best for older Surrey homes with lime plaster, where the wall needs to breathe. Non-woven substrates are dimensionally stable and tolerate the small movements of an old wall, and a clear, breathable topcoat adds light splash protection without trapping moisture in the plaster behind. The same thinking applies when restoring wallpaper in a period property, where the wrong sealed covering can do real harm.
Worth knowing: brands such as Graham & Brown, Cole & Son and Osborne & Little all offer wipeable or vinyl ranges for damp rooms, but suitability varies product by product, so check the individual data sheet. Steer clear of uncoated paper-backed papers, unsealed fabric-backed silks and most peel-and-stick options, none of which are built for bathroom humidity.
Our five-step wet-room wallpapering method
This is the sequence we follow on bathroom and kitchen jobs to give the finish the best chance of lasting through years of steam.
1. Assess and prepare the surface
First we check the wall is genuinely dry and that no water is tracking in through failed sealant or cracked grout nearby; there is no point papering over an active leak. Once the wall is sound, we clean, sand and fill it, then prime with a mould-resistant, moisture-blocking primer such as Zinsser Watertite so the surface starts off protected.
2. Seal the cut edges
Every cut edge, at the skirting, the ceiling line and around sockets and pipework, is sealed so moisture cannot creep in by capillary action. Edges are where wet-room wallpaper usually starts to fail, so this step earns its place.
3. Use the right adhesive
We hang with a ready-mixed, fungicidal vinyl paste rather than standard paper paste. The fungicide resists mould in the bond line, and a vinyl-grade paste holds the heavier coverings used in damp rooms.
4. Hang it with movement in mind
- Butt the seams together and press them down with a seam roller for a tight, even bond.
- Leave a hair-line gap at internal corners so the paper can expand slightly as humidity rises and falls, instead of buckling.
- Trim around fixtures with a fresh, sharp blade so cuts are clean and the paper is not put under tension.
5. Seal the surface (recommended for high-splash areas)
Where a wall sees regular splashing, a coat of clear, matte breathable varnish adds a final layer of protection without the yellowing you get from older oil-based products. If you would rather not take this on yourself, it is exactly the sort of detailed work our wallpaper hangers handle day to day across Surrey and South West London.
Pairing wallpaper with the rest of the room
A feature wall lands when the painted surfaces around it belong to the same scheme. Repaint the window frames and trim in a clean satinwood or eggshell so the woodwork frames the wall, and carry the colour up to the ceiling with a breathable, moisture-resistant finish; choosing the right paint finishes for bathrooms and kitchens is what keeps the room reading as deliberate. This is why most wet-room wallpaper jobs we do dovetail with interior painting on the same visit, which keeps colours matched and avoids two rounds of disruption.
Common mistakes to avoid
- Skipping lining paper on older, uneven plaster. A lining coat evens out absorption and gives the top paper a stable base, so seams are far less likely to lift.
- Decorating into a damp room. Let the walls dry fully before you start and keep the extractor running while everything cures.
- Cleaning with bleach or abrasive pads. A pH-neutral cleaner and a soft cloth keep the surface intact; harsh products strip the protective coating.
If you have heard that wallpaper simply cannot survive a bathroom, that is one of several myths worth retiring; we cover more of them in our piece on wallpaper installation myths.
The bottom line
With the right paper in the right zone, proper edge-sealing and a working extractor fan, wallpaper gives a bathroom or kitchen the warmth and pattern that tile and flat paint rarely manage. The materials are no longer the obstacle; prep and placement are what make it last.
If you are weighing up a wet-room feature wall in Surrey or South West London, send us your room measurements and a photo of the space. Request a free quote and we will tell you honestly what will work and what we would do differently, or call the team on 01483 694110.